
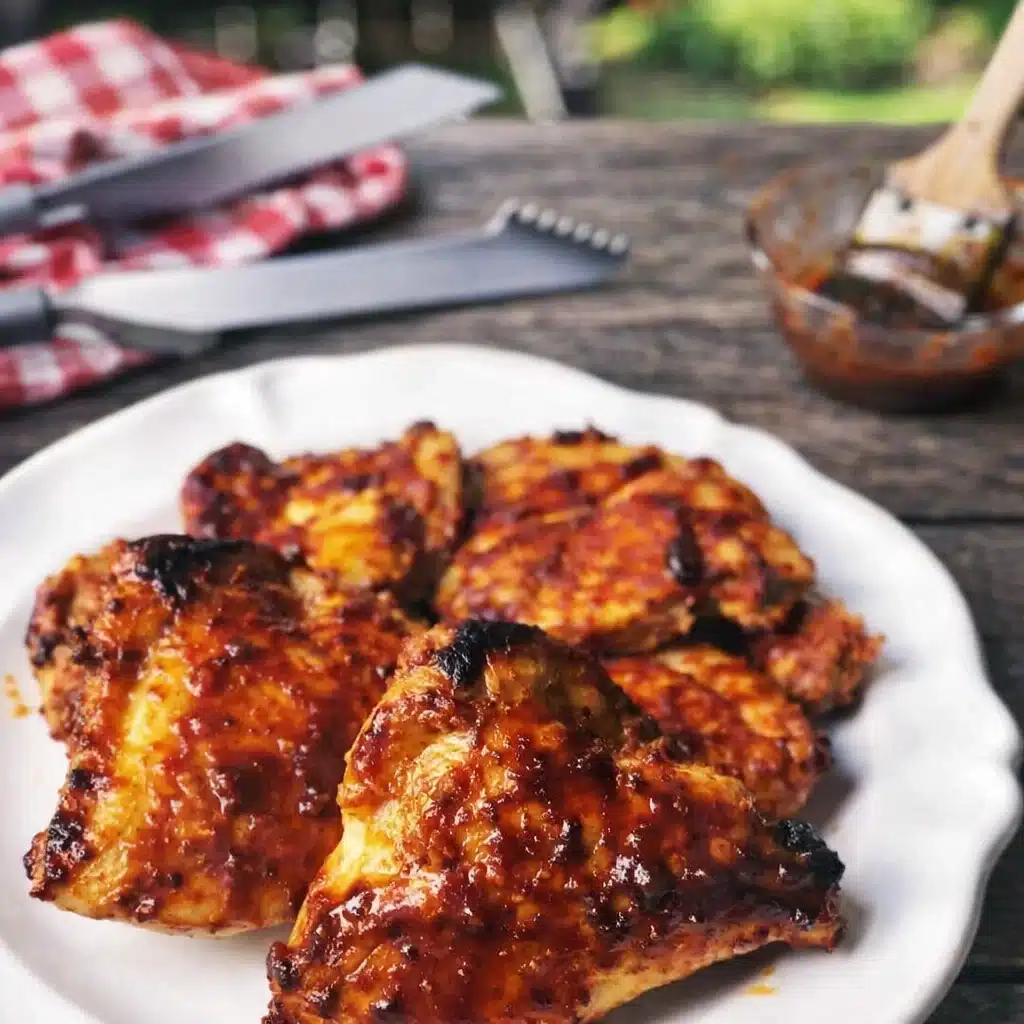
Oven Baked BBQ Chicken Breast is that dinner lifesaver we all need tucked up our sleeves. It’s juicy, flavorful, and comes together in under an hour—no grill required. Whether your weeknights are spent juggling Zoom calls and soccer practice or you’re just not in the mood for a 20-ingredient extravaganza, this dish is your no-fuss, all-flavor hero. And the best part? The skin gets golden and crispy, while that BBQ sauce caramelizes into sticky, sweet perfection. Oven baked BBQ chicken breast isn’t just convenient—it’s crave-worthy. Add some roasted veggies or a buttered roll, and you’ve got a Southern-style comfort meal with very little cleanup.
Table of Contents
What is Oven Baked BBQ Chicken Breast?
Oven Baked BBQ Chicken Breast is a delicious, hands-off way to get all the smoky-sweet flavor of a backyard barbecue without ever stepping outside. This version uses bone-in, skin-on chicken breasts—because let’s be real, the flavor from that bone and crispy skin? Totally worth it. The chicken is seasoned simply, roasted until golden, then slathered with your favorite BBQ sauce before getting a quick blast under the broiler. The result: tender, juicy meat with a caramelized, sticky BBQ finish that rivals anything off the grill. It’s like Sunday cookout meets Tuesday dinner shortcut.
Reasons to Try Oven Baked BBQ Chicken Breast
First, let’s talk ease—this is one of those magical recipes that makes you look like you fussed, when really you just tossed things on a tray and walked away. If weeknight dinner stress is your constant frenemy, oven baked BBQ chicken breast will quickly become your go-to. It’s great for busy nights, picky eaters, or those days when you open the fridge and think, “What now?” Plus, it only takes about 45 minutes from fridge to fork. You’re not standing over a grill, flipping and fretting. And the flavor? Chef’s kiss. Juicy chicken, smoky sweet BBQ sauce, and crispy skin all work together to make a dinner that tastes like it took way more effort.
Ingredients Needed to Make Oven Baked BBQ Chicken Breast
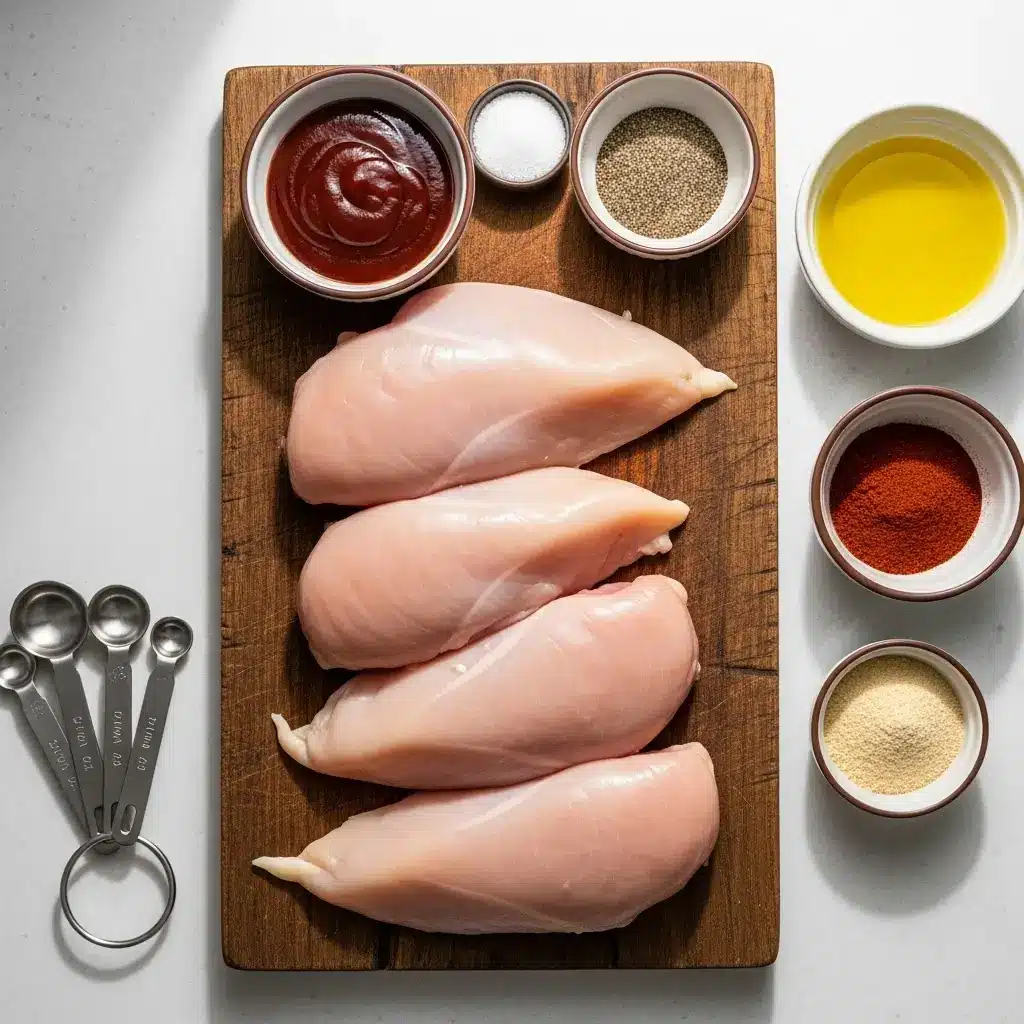
- 4 bone-in, skin-on chicken breasts
- 1 cup BBQ sauce (use your fave brand or homemade)
- 1 tablespoon olive oil
- 1 teaspoon freshly ground black pepper
- 1 teaspoon kosher salt
- ¼ teaspoon garlic powder
- ¼ teaspoon sweet paprika
Instructions to Make Oven Baked BBQ Chicken Breast (Step by Step)
Let’s walk through how to make this oven baked BBQ chicken breast step by step, so even if you’re brand new to roasting chicken, you’ll feel totally confident. These directions are easy to follow, beginner-friendly, and packed with helpful tips to get juicy, flavorful results every time. Ready? Let’s do it.
Step 1: Preheat the Oven and Prep Your Pan
First things first—preheat your oven to 425°F (218°C). This high heat helps give your chicken that golden, slightly crispy skin we all crave. While the oven is heating up, grab a large sheet pan and line it with aluminum foil. Trust me, this is going to save you a ton of cleanup later. You can also add a wire rack if you want the chicken to cook more evenly on all sides, but it’s totally optional. For more easy cleanup tricks, check out our baked chicken tips.
Step 2: Arrange the Chicken
Place your bone-in, skin-on chicken breasts skin-side up on the foil-lined sheet pan. Don’t overcrowd the pan—space between the pieces allows heat to circulate better, helping everything cook more evenly. You want those juices to stay locked in. Bone-in chicken is ideal for this step-by-step method because it adds moisture and flavor, especially when paired with the skin, which crisps up beautifully during baking.
Step 3: Drizzle with Olive Oil
Next, give your chicken some love with olive oil—just a light drizzle over each piece. This helps the seasoning stick and gives you that gorgeous, golden finish once it’s baked. If you’re fresh out of olive oil, you can substitute with avocado oil or melted butter. Just don’t skip this step—it’s key for both flavor and texture.
Step 4: Mix and Sprinkle the Seasoning
In a small bowl, mix together the following:
- 1 tsp kosher salt
- 1 tsp black pepper
- ¼ tsp garlic powder
- ¼ tsp sweet paprika
This seasoning blend is simple but so flavorful. It gives the chicken a delicious savory kick with just a hint of smoky warmth from the paprika. Sprinkle the mixture evenly over the skin. Don’t forget to get into the nooks and crannies—you want every bite to be seasoned. For ideas on how to spice things up or swap ingredients, visit our guide on seasoning chicken right.
Step 5: Roast the Chicken
Place your seasoned chicken into the middle rack of the oven and roast for 25 to 30 minutes. During this time, the skin will crisp up, the fat will render, and the chicken will begin to brown beautifully. If you’ve got a meat thermometer (and honestly, it’s a game-changer), now’s a good time to start checking the temp. We’re aiming for that magic number: 165°F at the thickest part of the breast. That’s how you know it’s fully cooked and safe to eat.
Step 6: Brush with BBQ Sauce
Take the chicken out after 25–30 minutes and brush on your favorite BBQ sauce. Be generous here—you want every inch covered in that sweet, smoky goodness. Try a homemade version, or go with a store-bought sauce you already love. If you need help choosing, check out our BBQ chicken quesadillas to see what sauces pair best with chicken. Make sure to only sauce the chicken after the initial bake—doing it earlier can burn the sugars in the BBQ sauce.
Step 7: Return to the Oven and Bake Again
Once sauced, return the chicken to the top rack of the oven and bake for another 10 minutes. This gives the BBQ sauce time to set and start caramelizing. The high heat brings out all those sticky, smoky notes. Your kitchen will smell incredible right about now.
Step 8: Broil for That Caramelized Finish (Optional, But Worth It)
If you love that restaurant-style sticky glaze with a little char, this step’s for you. Flip on your oven’s broiler and cook the chicken under it for about 2 minutes—just until the BBQ sauce starts to bubble and brown. Keep a close eye! Broilers work fast and can go from “yum” to “oops” real quick. This step by step process adds a final pop of texture and flavor that really takes things over the top.
Step 9: Check for Doneness
Pull out your trusty thermometer (or give the chicken a little slice at the thickest part) to confirm it’s cooked through—165°F is the goal. No guesswork here! The juices should run clear, and the meat should be tender and fully opaque.
Step 10: Rest and Serve
Let the chicken rest for 5 minutes before serving. This helps the juices redistribute and keeps everything moist and flavorful. Now you’re ready to plate up and impress! Pair it with something comforting like our chicken and rice dinner or even a fun twist like this cheeseburger orzo delight. Leftovers? They’re perfect for next-day sandwiches or salads.
What to Serve with Oven Baked BBQ Chicken Breast
This dish pairs beautifully with classic sides. Think buttery mashed potatoes, a big scoop of mac and cheese, or creamy smothered chicken and rice if you want to go all in on comfort. For a lighter vibe, try it with roasted broccoli, corn on the cob, or even a crunchy slaw. A side of cheesy baked meat patties or garlic chicken gnocchi skillet would also be fun if you’re feeding a crowd. Leftovers? Slice it up and serve it in sandwiches or throw it on top of a salad the next day.
Key Tips for Making Oven Baked BBQ Chicken Breast
- Go bone-in and skin-on for maximum flavor and moisture.
- Use foil or parchment to save yourself from scrubbing that pan later.
- Don’t skimp on seasoning. A well-seasoned base makes a huge difference before the BBQ sauce even hits.
- Use a meat thermometer. Overcooked chicken = dry and sad. Aim for 165°F.
- Want extra crispy skin? Roast the chicken without the sauce first so the skin crisps up, then add BBQ sauce near the end.
- Broil carefully! Two minutes can go from caramelized to charred real fast.
- Got leftovers? Store the sauce on the side so the chicken stays crisp when reheating.
Storage and Reheating Tips Oven Baked BBQ Chicken Breast
Let any leftovers cool completely before storing. Place them in an airtight container and refrigerate for up to 4 days. For longer storage, wrap tightly and freeze for up to 3 months. When you’re ready to reheat, pop it in the oven at 350°F, covered with foil, for about 15-20 minutes or until heated through. Want to crisp it up again? Remove the foil and broil for a minute or two. Microwave is fine in a pinch, but the skin won’t be crispy—still tasty, just not the same vibe. If you’re meal-prepping, keep the sauce separate until serving for the best texture.
FAQs
Can I use boneless chicken breasts?
Absolutely! Just reduce the initial baking time to about 18–22 minutes depending on thickness.
What BBQ sauce works best?
Totally up to your taste! Sweet, spicy, smoky—go with what you love. Homemade or store-bought both work here.
Can I make this ahead of time?
Yes! Season and roast the chicken ahead, then sauce and broil right before serving to keep things fresh.
How do I know when it’s done?
Use a meat thermometer—165°F at the thickest part means you’re golden.
Can I freeze leftovers?
Yep! Wrap tightly and freeze for up to 3 months. Thaw in the fridge overnight before reheating.
Final Thoughts
Oven Baked BBQ Chicken Breast is proof that a little oven magic can give you big barbecue flavor without the hassle. Whether it’s a cozy dinner for two or a quick family meal before everyone runs out the door, this recipe hits the sweet spot between fast and flavorful. If you loved this, you might also enjoy our Easy Baked Ranch Chicken or our juicy Baked Chicken Thighs Recipe for more no-stress dinner ideas. Bookmark this one—you’ll want it on repeat.
Visit our Pinterest for regular slow cooker recipe updates, or join our Facebook discussions where cooking fans exchange their favorite hearty meal ideas.
PrintOven Baked BBQ Chicken Breast (Easy Recipe)

Baked BBQ chicken is a delicious BBQ dinner made with bone-in chicken breasts and BBQ sauce baked in the oven. A perfect easy weeknight meal.
- Prep Time: 5 minutes
- Cook Time: 40 minutes
- Total Time: 45 minutes
- Yield: 4 servings 1x
- Category: Main Course
- Method: Baking
- Cuisine: American
Ingredients
- 4 bone-in skin on chicken breasts
- 1 cup BBQ sauce
- 1 tablespoon olive oil
- 1 teaspoon freshly ground black pepper
- 1 teaspoon kosher salt
- ¼ teaspoon garlic powder
- ¼ teaspoon sweet paprika
Instructions
1. Pre-heat oven to 425 degrees.
2. Prepare a sheet pan by lining it with aluminum foil (for easy cleanup).
3. Place chicken breasts skin side up on to a sheet pan.
4. Drizzle olive oil over the top of the chicken breasts.
5. Mix together the spices in a small bowl.
6. Sprinkle seasoning on skin of chicken breasts.
7. Place in the oven on the middle rack for 25-30 minutes.
8. Remove the chicken from the oven and now brush on the BBQ sauce on the top of the chicken.
9. Place back in the oven on the top rack for another 10 minutes.
10. If you prefer the BBQ sauce to have a little char then turn the broiler on in the oven and cook the chicken under the broiler for about 2 minutes or until it starts to lightly caramelize.
11. The chicken is ready when the internal temperature reaches 165 degrees.
Notes
If you are working with boneless chicken breasts without skin:
Follow the instructions in the post.
Make sure chicken is cooked to an internal temperature of 165 degrees.
Nutrition
- Serving Size: 1 chicken breast
- Calories: 344
- Sugar: 0.02g
- Sodium: 696mg
- Fat: 20g
- Saturated Fat: 5g
- Unsaturated Fat: 13g
- Trans Fat: 0.2g
- Carbohydrates: 1g
- Fiber: 0.2g
- Protein: 38g
- Cholesterol: 116mg


