
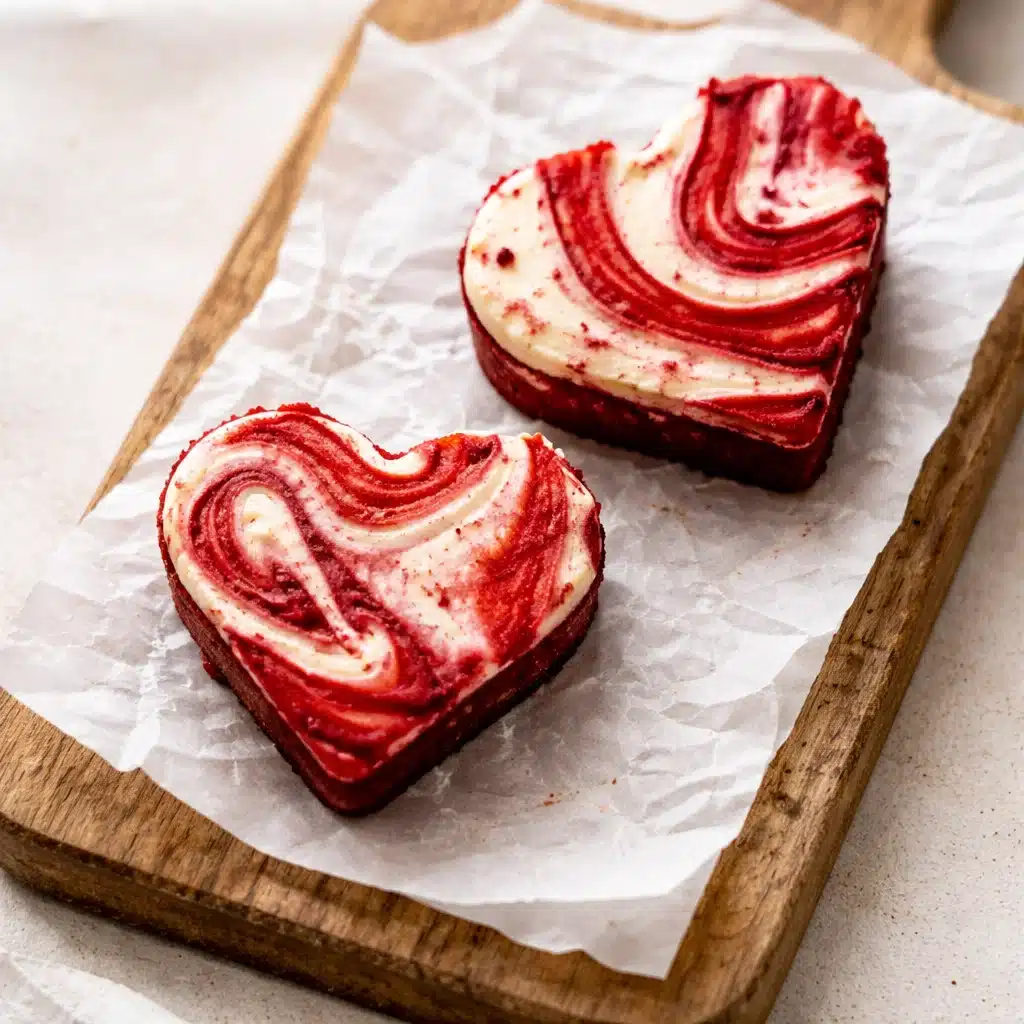
Delicious Heart-Shaped Red Velvet Cheesecake is exactly what it sounds like: a swoon-worthy mashup of red velvet cake and creamy cheesecake, shaped like a heart and ready to steal the spotlight. Whether you’re planning a romantic dinner, a Valentine’s Day surprise, or just need a reason to bake something fabulous on a random Tuesday, this dessert is here to deliver all the heart eyes and happy taste buds. The bold red velvet base is rich and slightly chocolatey, while the top layer is that dreamy, tangy cheesecake we all know and love. Topped off with a sprinkle of red sugar and a few white chocolate shavings? Chef’s kiss.
Table of Contents
What is Delicious Heart-Shaped Red Velvet Cheesecake?
Delicious Heart-Shaped Red Velvet Cheesecake is a dessert made for when you’re feeling a little extra. It’s not just a cake, and it’s not just a cheesecake—it’s the delicious love child of both, baked into a heart-shaped pan for maximum charm. The bottom layer is a fudgy red velvet brownie-style cake with just a hint of cocoa. That gets topped with a luscious layer of creamy cheesecake made with softened cream cheese, Greek yogurt, and just the right amount of vanilla. Once it’s baked, cooled, and chilled to perfection, it’s topped with red sugar crystals or white chocolate shavings for a stunning finish.
Reasons to Try Delicious Heart-Shaped Red Velvet Cheesecake
Honestly, it’s hard to come up with reasons not to make this! But in case you need convincing: First, the heart shape makes it a no-brainer for romantic occasions like Valentine’s Day, anniversaries, or even just to say “I love you (and cheesecake).” Second, it’s a two-in-one dessert—why choose between red velvet and cheesecake when you can have both? Third, it’s way easier than it looks. The batter comes together with everyday ingredients and a basic mixer. And if you’ve got a cookie cutter and a little patience, you can cut it into mini heart-shaped servings that’ll make you look like a pro. Lastly, you can make it ahead of time.
Ingredients Needed to Make Delicious Heart-Shaped Red Velvet Cheesecake
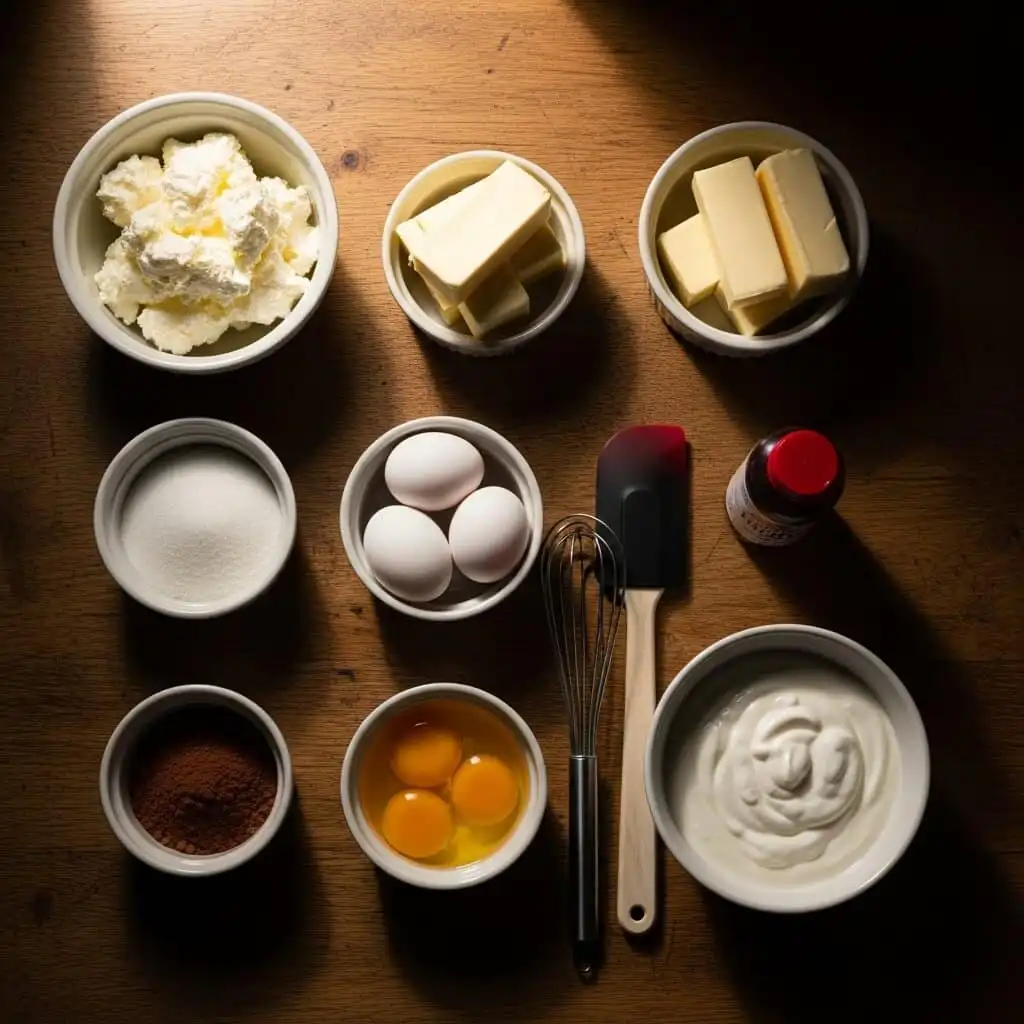
For the red velvet brownie base:
- ½ cup all-purpose flour
- 4 oz semi-sweet chocolate, chopped
- 2 large eggs
- 1 fl oz red food coloring
- 5 tbsp unsalted butter
- ½ cup packed dark brown sugar
- ¼ tsp baking powder
- ¼ tsp salt
For the cheesecake layer:
- 8 oz full-fat cream cheese, softened
- ⅔ cup granulated sugar
- 1 tbsp all-purpose flour
- 2 large eggs
- 1 tbsp vanilla extract
- ¼ cup full-fat Greek yogurt
For topping:
- Red sugar crystals (or crushed freeze-dried strawberries)
- Optional: white chocolate shavings, fresh berries
Instructions to Make Delicious Heart-Shaped Red Velvet Cheesecake
Ready to bake a show-stopping dessert that’s part rich red velvet brownie, part creamy cheesecake? Let’s walk through it all together with this easy step-by-step guide. No fancy bakery skills required—just a bit of love, a heart-shaped cookie cutter, and a sweet tooth. Here’s how to make your Delicious Heart-Shaped Red Velvet Cheesecake from scratch, one step at a time.
Step 1: Preheat Your Oven and Prep the Pan
Begin by preheating your oven to 350°F (175°C). This ensures that both the red velvet base and cheesecake top bake evenly. While the oven is heating up, generously grease a 9-inch round springform pan with butter or shortening. This step is key to getting those brownie layers out without sticking. If you’re using parchment paper, cut it to fit the bottom—especially helpful if you’re aiming for perfect heart cutouts later.
Need help choosing the right bakeware? Check out this Valentine’s Day Cake Mix Cookies recipe for more baking pan tips.
Step 2: Make the Red Velvet Brownie Batter
Now let’s get that iconic red velvet base going!
In a small saucepan, fill halfway with water and bring it to a simmer. Place a heatproof bowl over the pot (like a DIY double boiler), and add the chopped semi-sweet chocolate and butter. Stir gently until the mixture melts into a smooth, glossy blend. Let it cool slightly before moving on.
In a separate bowl, whisk together flour, baking powder, and salt. This dry mix keeps your brownies from being too dense.
Back to your chocolate mix—add the brown sugar, whisk it in, then follow with the eggs and vibrant red food coloring. Once that’s well blended, fold in the dry ingredients just until smooth. Don’t overmix; a gentle hand keeps that fudgy texture intact.
Looking for natural food coloring options? Our readers also love Valentine’s Day Red Velvet Truffles for a no-dye alternative.
Step 3: Prepare the Creamy Cheesecake Batter
Get your stand mixer ready with the paddle attachment (or use a handheld mixer—just take your time).
In the mixing bowl, blend the softened cream cheese and Greek yogurt until it’s super creamy and lump-free. This step sets the stage for that smooth, melt-in-your-mouth cheesecake texture. Don’t rush—creaminess is everything here.
What to Serve with Delicious Heart-Shaped Red Velvet Cheesecake
This cheesecake already looks like dessert royalty, but pairing it with something simple can elevate the whole experience. A warm cup of coffee or black tea balances the sweetness perfectly. Add a scoop of vanilla ice cream or a swirl of whipped cream on the side if you’re feeling a little extra. For a touch of freshness, serve with sliced strawberries or raspberries—the tart fruit contrasts beautifully with the rich, creamy layers. Want to go full presentation mode? Drizzle a little chocolate sauce on the plate before serving.
Key Tips for Making Delicious Heart-Shaped Red Velvet Cheesecake
Room temperature everything! Cold ingredients cause lumps and cracked tops—no thanks. Let your cream cheese, yogurt, and eggs sit out at least 1–2 hours before baking. Don’t skip the water bath—it’s the best trick for a smooth, crack-free top. You can use a large pan with hot water underneath your springform pan. If you’re nervous about leaks, wrap the bottom of your springform in foil. Don’t overmix the cheesecake once the eggs are in—just mix until combined. That swirl on top? Use a gentle hand to avoid muddying the layers.
Storage and Reheating Tips for Delicious Heart-Shaped Red Velvet Cheesecake
Once your cheesecake hearts are ready, keep them in an airtight container in the fridge. They’ll stay fresh for up to 5 days. Actually, they taste even better on day two—like the flavors took a nap and woke up stronger. If you want to freeze them, line a baking sheet with parchment, freeze the hearts until firm, then wrap each one in plastic and foil. Store in a freezer-safe container or bag for up to 3 months. When you’re ready to serve, thaw in the fridge overnight, then let them sit at room temp for 20–30 minutes.
FAQs
Can I make this without a heart-shaped cutter?
Absolutely. You can leave it as a round cheesecake and just slice it like a regular cake—it still tastes amazing.
Can I use natural food coloring?
Yes! Beetroot powder or a veggie-based dye will work. The color might be more muted, but it’s a great swap.
Can I make it gluten-free?
Sure thing! Just use a 1:1 gluten-free flour blend in both the brownie and cheesecake layers.
Is Greek yogurt a must?
Not really. Sour cream or full-fat plain yogurt (strained if watery) will give you the same tangy creaminess.
Final Thoughts
Delicious Heart-Shaped Red Velvet Cheesecake is that dessert that makes people gasp a little when they see it—and swoon when they taste it. It’s rich, creamy, chocolatey, and honestly kind of magical in every bite. Whether you’re planning a romantic dinner or just want to impress yourself (yes, that counts), this treat is worth every swirl, sprinkle, and slice. Plus, it’s easier than it looks, make-ahead friendly, and a total crowd-pleaser. Looking for more sweet inspiration? Check out these Valentine’s Day Cake Mix Cookies or Strawberry Cheesecake Truffle Balls. Happy baking—and don’t forget to save a slice for yourself.
Visit our Pinterest for regular slow cooker recipe updates, or join our Facebook discussions where cooking fans exchange their favorite hearty meal ideas.
PrintDelicious Heart-Shaped Red Velvet Cheesecake
This heart-shaped dessert combines the richness of red velvet brownies with a smooth cheesecake topping, perfect for romantic celebrations like Valentine’s Day or anniversaries.
- Prep Time: 45 minutes
- Cook Time: 30 minutes
- Total Time: 75 minutes
- Yield: 20 heart-shaped pieces 1x
- Category: Dessert
- Method: Baking
- Cuisine: American
- Diet: Vegetarian
Ingredients
- For the red velvet brownie batter:
- 1/2 cup all-purpose flour
- 4 oz semi-sweet chocolate, finely chopped
- 2 large eggs
- 1 fl oz red food coloring
- 5 tbsp unsalted butter
- 1/2 cup packed dark brown sugar
- 1/4 tsp baking powder
- 1/4 tsp salt
- For the cheesecake batter:
- 2/3 cup granulated sugar
- 1 tbsp all-purpose flour
- 8 oz softened cream cheese
- 1 tbsp vanilla extract
- 2 large eggs
- 1/4 cup plain Greek yogurt (full-fat)
- For the topping:
- red sugar crystals
Instructions
1. Preheat your oven to 350°F (175°C) and grease a 9-inch round springform pan generously with butter or shortening.
2. In a bowl, whisk together the flour, baking powder, and salt; set aside.
3. In a heatproof bowl over simmering water, melt the butter and chocolate, stirring until smooth. Let cool slightly.
4. Whisk in the dark brown sugar, then the eggs and red food coloring. Stir in the dry ingredients until smooth. Set aside 1/4 cup of this batter.
5. Using a mixer, beat the softened cream cheese and yogurt until fluffy. Add in the sugar and vanilla, mixing well.
6. Add the eggs one at a time, then mix in the flour until fully incorporated. Set aside.
7. Pour the red velvet batter into the pan, smoothing it out. Top with the cheesecake batter.
8. Drizzle the reserved 1/4 cup of red velvet batter over the cheesecake layer. Swirl with a butter knife for a marbled effect.
9. Bake for about 30 minutes, until the cheesecake is set and slightly golden on the edges.
10. Let cool for 30 minutes, then sprinkle red sugar crystals on top. Refrigerate for at least 3 hours or overnight.
11. Use a 2-3 inch heart-shaped cookie cutter to cut out shapes. Warm and dry the cutter between cuts for clean edges.
12. Serve immediately or refrigerate in a single layer to preserve the swirl patterns.
Notes
For best results, use full-fat block cream cheese and let all dairy ingredients come to room temperature before mixing. A water bath during baking can help prevent cracks in the cheesecake layer. To freeze, cut into heart shapes, freeze until solid, then wrap and store for up to 3 months. Thaw overnight in the fridge and let come to room temperature before serving. Fresh berries or whipped cream pair beautifully with this dessert.
Nutrition
- Serving Size: 1 heart-shaped piece
- Calories: 140
- Sugar: 12g
- Sodium: 90mg
- Fat: 8g
- Saturated Fat: 5g
- Unsaturated Fat: 2g
- Trans Fat: 0g
- Carbohydrates: 16g
- Fiber: 0.5g
- Protein: 2g
- Cholesterol: 40mg


