
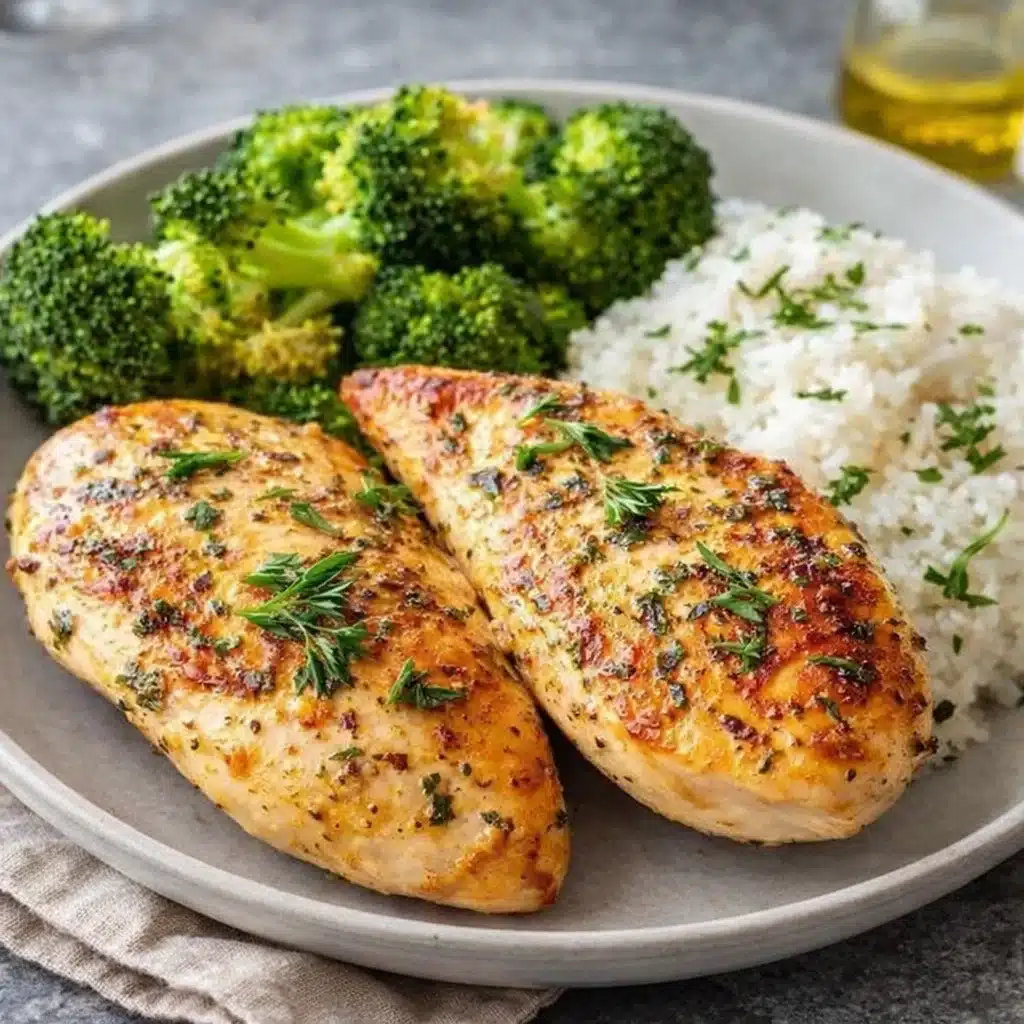
Juicy Baked Chicken Breast is that reliable friend you turn to when dinner feels like a chore, time is tight, and takeout just isn’t cutting it. It’s simple, flavorful, and—here’s the kicker—it stays juicy. I know, I know, chicken breast has a bit of a rep for being dry and, well, boring. But this recipe? It flips that story right on its golden, herby head. Whether you’re cooking for your picky eaters, prepping lunches, or need something fuss-free for a Tuesday night, this chicken won’t let you down. It’s garlicky, a little spicy, and finishes off with a gorgeous broiled crust that practically begs to be sliced into.
Table of Contents
What is Juicy Baked Chicken Breast?
Juicy Baked Chicken Breast is exactly what it sounds like—moist, tender chicken breast that’s cooked in the oven without drying out. The secret? A quick 15-minute brine that locks in moisture, followed by a rub of olive oil, garlic, parsley, and spices that create a flavorful crust. Then it’s roasted at high heat and finished with a broil to crisp the edges. The result is golden on the outside and perfectly juicy inside, without needing a ton of sauce or complicated marinades. It’s a go-to in many kitchens because it’s healthy-ish, high in protein, and super versatile.
Reasons to Try Juicy Baked Chicken Breast
First off—flavor meets ease. Juicy Baked Chicken Breast is one of those recipes that gives you big, satisfying flavor without needing 17 spices or an overnight marinade. It’s a one-pan wonder that requires minimal babysitting, and let’s be real, who has time to hover over the stove when laundry’s screaming and the kids are asking for snacks… again? Second, this chicken is so versatile. Serve it hot with sides, slice it cold on a salad, stuff it into wraps, or layer it into a sandwich with melty cheese. It’s a meal prep MVP. Third? It’s healthy but not sad. You’re getting lean protein, but thanks to the brine and broil trick, it doesn’t taste like cardboard.
Ingredients Needed to Make Juicy Baked Chicken Breast
- 2 large boneless skinless chicken breasts
- 4 cups warm water
- 4 tablespoons kosher salt (for brine)
- 2 tablespoons olive oil
- 3 cloves garlic, minced
- 1 tablespoon chopped fresh parsley
- 1 teaspoon paprika
- 1 teaspoon red pepper flakes
- Salt and pepper to taste
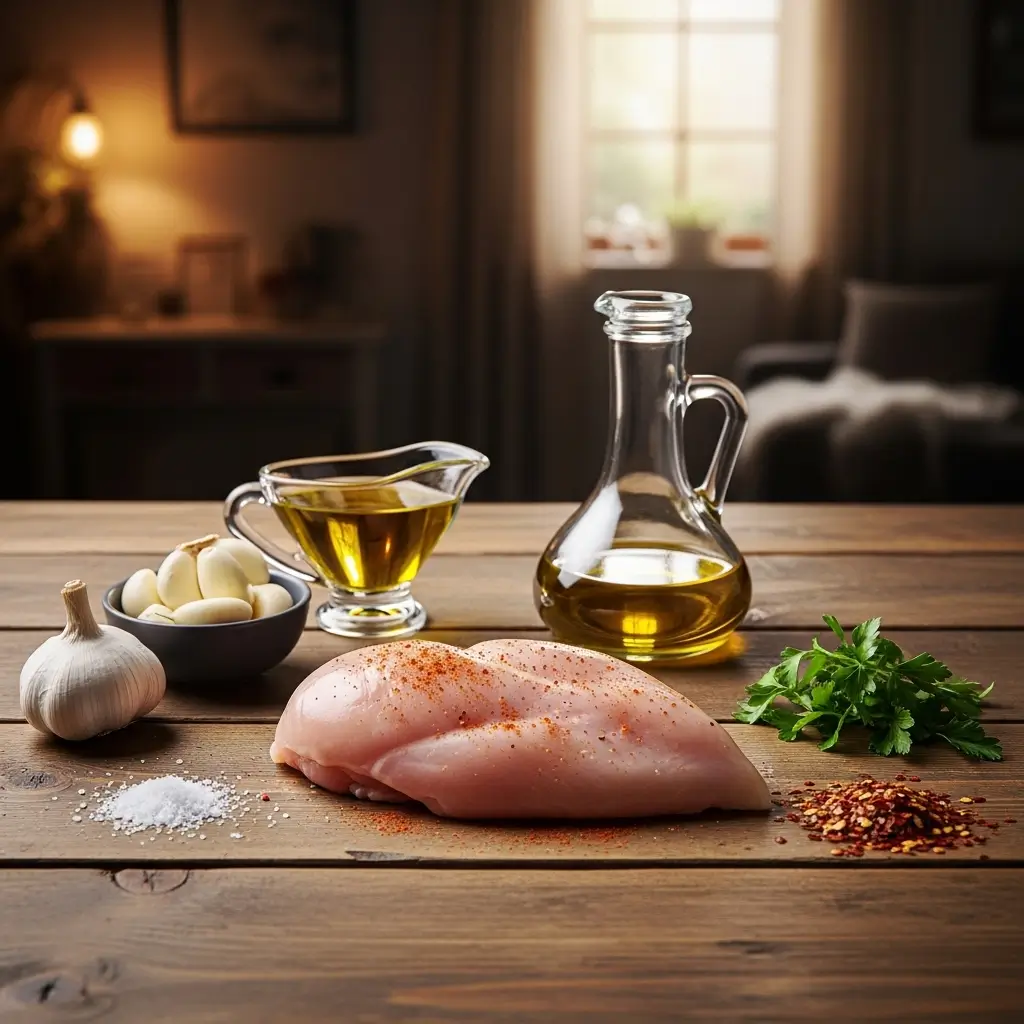
Step-by-Step Guide to Making Juicy Baked Chicken Breast
Making a Juicy Baked Chicken Breast isn’t complicated, but following a thoughtful step-by-step process can make all the difference between a dinner win and a dry disappointment. Here’s your easy-to-follow, foolproof roadmap from raw chicken to golden, flavor-packed perfection—no guesswork required.
Step 1: Brine the Chicken
This step is the secret sauce (without actual sauce) to getting that juicy bite every time. In a large bowl, combine 4 cups of warm water with 4 tablespoons of kosher salt. Stir until the salt dissolves. Add your boneless, skinless chicken breasts and let them sit in the brine for 15 minutes. This quick soak helps the meat absorb moisture and flavor before it even hits the oven. If you’ve got a little extra time, brining up to 30 minutes is even better. Want to learn more about why brining works? Check out this simple chicken prep tip where I explain how it’s also used in soups to build flavor from the base up.
Step 2: Pat Dry and Let It Rest
After brining, remove the chicken and pat it completely dry with paper towels. Don’t skip this! Any leftover moisture on the surface can interfere with browning later on. Once dry, place the chicken on a plate or clean surface and let it air dry for 5 minutes. This quick rest allows the meat to come slightly closer to room temperature, which helps it cook more evenly. Think of this as your “pre-game” for seasoning.
Step 3: Season the Chicken
Rub the chicken thoroughly with 2 tablespoons of olive oil. This not only locks in moisture but also helps the seasonings stick like a dream. Then, massage in the spice mix:
- 3 cloves garlic, finely minced
- 1 tablespoon fresh chopped parsley
- 1 teaspoon paprika
- 1 teaspoon red pepper flakes (adjust to taste)
You can gently press the mixture into the meat so it adheres better. Need a milder version for the kids or spice-sensitive eaters? Feel free to tone down the pepper flakes or try a flavorful but kid-friendly rub like the one in this Honey Butter Garlic Chicken & Rice dish.
Step 4: Preheat the Oven and Prep the Sheet Pan
Now, crank your oven up to 425°F (218°C). While it’s heating, line a baking sheet with parchment paper for easy cleanup and to prevent sticking. A rimmed baking sheet is best to catch any juices that might escape. No parchment? A light spray of non-stick oil works too.
Step 5: Arrange and Season the Chicken
Place the seasoned chicken breasts on the lined baking sheet, leaving space between them so the heat can circulate. Lightly sprinkle both sides with salt and freshly ground black pepper to taste. These finishing touches help balance the garlic and spice, rounding out the flavor. Pro tip: For even cooking, try to choose chicken breasts that are similar in size. If yours are uneven, consider pounding them gently to an even thickness—about 1 inch works well.
Step 6: Bake the Chicken
Pop the chicken into the oven and bake for 18 minutes. This high-temp roast helps lock in moisture and gives the outside a slight crust. If you’re unsure whether it’s done, this is a great time to pull out your instant-read thermometer—your best friend when cooking poultry. You’re aiming for an internal temp of 165°F in the thickest part. Don’t guess here. Cooking based on time alone can lead to overdone chicken, and no one wants that.
Step 7: Broil for a Golden Finish
Once the chicken is fully cooked, switch your oven to broil. Leave the chicken on the middle rack (don’t move it too close!) and broil for 2 to 3 minutes. Watch it like a hawk—this step can go from perfect to burnt in seconds. You’re just looking for that gorgeous golden-brown top and slightly crispy edges.
Step 8: Let the Chicken Rest
Remove the chicken from the oven and let it rest for at least 5 minutes before slicing. This isn’t just a patience test—it actually gives the juices time to redistribute through the meat, so each bite is moist and flavorful. Skip this step, and you’ll lose all those lovely juices to your cutting board.
Step 9: Slice, Serve, or Store
After resting, slice the chicken against the grain for the most tender texture. Serve it alongside your favorite sides, like roasted veggies, rice, or even in a sandwich. It’s also amazing chopped into a salad or added to a comforting bowl of Creamy Lemon Chicken Orzo Soup. Got leftovers? Wrap and refrigerate for up to 4 days, or freeze for up to 2 months. For more on reheating like a pro, check the storage tips below in the main article.
What to Serve with Juicy Baked Chicken Breast
Juicy Baked Chicken Breast goes with practically anything. If you’re in full-on dinner mode, serve it with buttery mashed potatoes and a crisp green salad. Trying to keep things light? Roasted veggies and quinoa make a great team. Feeling cozy? Pair it with this One-Pot Lemon Dilly Chicken Rice Soup or the fan-favorite Paula Deen Amazing Chicken Casserole for comfort food vibes. If you’re packing lunch for the week, slice it into wraps with some hummus and spinach or layer it over grain bowls. And if your kids are picky, you can always dice it and toss it into mac and cheese (works like a charm).
Key Tips for Making Juicy Baked Chicken Breast
Brine it—even for 15 minutes. It’s the not-so-secret trick that turns “meh” chicken into juicy perfection. Don’t skip the pat-dry step either; it helps the seasoning stick and gives you that golden finish. Want a flavor boost? Add lemon zest or swap parsley for thyme or rosemary. Use an instant-read thermometer—don’t play the guessing game with poultry. And when you broil, watch closely! It can go from golden to burnt quicker than your toddler can spill juice on a white rug. Most importantly, let it rest. It’s tempting to dive right in, but that short pause keeps the juices locked in, not running all over your plate.
Storage and Reheating Tips for Juicy Baked Chicken Breast
Leftovers? You’re in luck. Store Juicy Baked Chicken Breast in an airtight container in the fridge for up to 4 days. You can also wrap it tightly and freeze it for up to 2 months—just label it so you’re not playing “freezer roulette” later. To reheat, avoid the microwave if you can. Instead, reheat slices in a skillet over low heat with a splash of chicken broth or water to keep things moist. If you must microwave, cover with a damp paper towel and heat in short bursts to prevent rubbery results. Planning to use it cold? It’s delicious in wraps, sandwiches, or chopped over salads.
FAQs
Can I skip the brine?
You can—but you might regret it. The brine makes a huge difference in texture and moisture.
What if I don’t have paprika or red pepper flakes?
No problem. You can sub with Italian seasoning or keep it simple with garlic, salt, and pepper.
Can I use chicken thighs instead?
Sure can! Just adjust the baking time since thighs take a bit longer to cook.
How do I know the chicken is done?
Use a thermometer—165°F in the thickest part is your goal.
Can I make this ahead?
Absolutely. This recipe was made for meal prep.
Final Thoughts
Juicy Baked Chicken Breast is more than just a weeknight recipe—it’s your kitchen’s dependable BFF. It’s fast, forgiving, and flavorful enough to keep on repeat without getting boring. Plus, it’s endlessly customizable and meal-prep friendly. Once you’ve tried it, dry chicken becomes a distant memory. Whether you’re feeding toddlers, teenagers, or just your future hungry self, this recipe fits right into your week without the stress. And if you’re craving more cozy chicken dinners, check out Rich Crockpot Tuscan Chicken or this Creamy Smothered Chicken and Rice next. Trust me—your future self will thank you.
Visit our Pinterest for regular slow cooker recipe updates, or join our Facebook discussions where cooking fans exchange their favorite hearty meal ideas.
PrintJuicy Baked Chicken Breast (A Weeknight Staple That Stays Moist and Flavorful)

Juicy, tender, and packed with herbed garlic flavor, this baked chicken breast is finished with a golden broil and perfect for weeknight dinners or meal prep.
- Prep Time: 20 minutes
- Cook Time: 21 minutes
- Total Time: 41 minutes
- Yield: 2 servings 1x
- Category: Dinner
- Method: Baking
- Cuisine: American
Ingredients
- 2 large boneless skinless chicken breasts
- 4 cups warm water
- 4 tablespoons kosher salt
- 2 tablespoons olive oil
- 3 cloves garlic minced
- 1 tablespoon chopped fresh parsley
- 1 teaspoon paprika
- 1 teaspoon red pepper flakes
- Salt and pepper to taste
Instructions
1. Brine the chicken breasts in warm water mixed with kosher salt for 15 minutes.
2. Pat the chicken dry and let it rest for 5 minutes to air dry.
3. Rub chicken with olive oil, garlic, parsley, paprika, and red pepper flakes.
4. Preheat the oven to 425°F and line a baking sheet with parchment paper.
5. Place chicken on the baking sheet and season with salt and pepper.
6. Bake for 18 minutes or until internal temperature reaches 165°F.
7. Turn oven to broil and cook chicken for an additional 2-3 minutes until golden brown.
8. Remove from oven and let rest for at least 5 minutes before serving.
9. Serve with rice, vegetables, or slice for sandwiches.
10. Store leftovers in airtight containers or wrap and freeze for up to 2 months.
Notes
Use an instant-read thermometer for accuracy—don’t rely solely on time.
Let the chicken rest before slicing to keep it juicy.
Rub seasoning evenly and gently press it into the chicken for better adherence.
Nutrition
- Serving Size: 1 chicken breast
- Calories: 265
- Sugar: 0g
- Sodium: 480mg
- Fat: 11g
- Saturated Fat: 2g
- Unsaturated Fat: 8g
- Trans Fat: 0g
- Carbohydrates: 1g
- Fiber: 0g
- Protein: 38g
- Cholesterol: 80mg


