
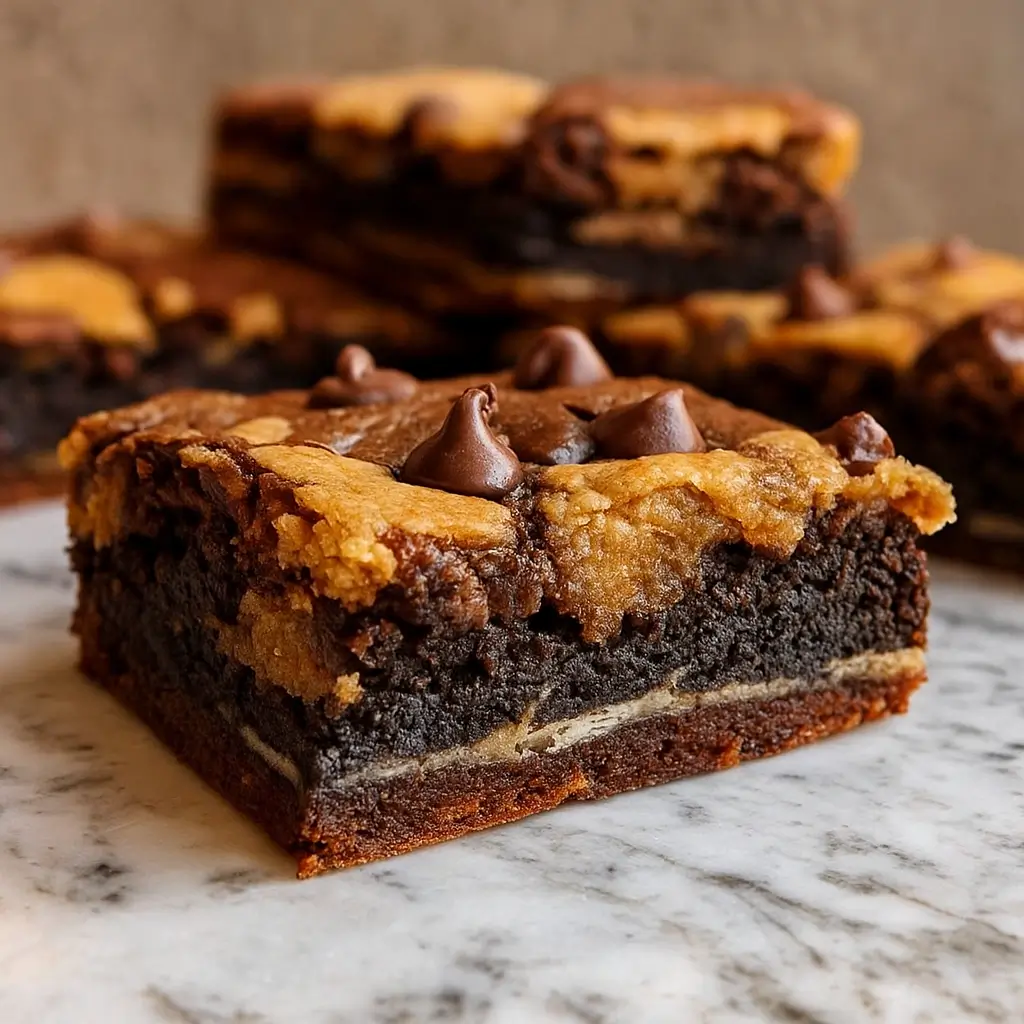
Amazing Slutty Brownies (Cookie Dough) are not for the faint of sweet tooth. With three irresistible layers—chewy cookie dough, classic Oreos, and rich brownie batter—this over-the-top dessert is as dramatic as its name. If you’ve ever stood in front of your pantry thinking, “Cookies or brownies?” and couldn’t decide, this is your golden ticket. These brownies are quick to throw together, wildly indulgent, and always the first to disappear at any gathering. Whether you’re baking for your family, a girls’ night, or just a solo moment of chocolate therapy, this dessert hits every comfort note. . We’re talking store-bought cookie dough and brownie mix, which means less time prepping and more time face-first in chocolate heaven.
Table of Contents
What are Amazing Slutty Brownies (Cookie Dough)?
Let’s clear one thing up: Slutty Brownies didn’t get their name from me, but they sure live up to the hype. This viral dessert became internet-famous for stacking three classic treats into one unapologetically decadent bar. You start with a base of gooey chocolate chip cookie dough, layer in some Oreos (yes, whole Oreos), and top it all off with fudgy brownie batter. Bake it, slice it, and try not to eat half the pan before anyone else sees them. They’re called “slutty” because they’re over-the-top, messy in the best way, and irresistibly indulgent—kind of like that wild friend who always convinces you to stay out just one more hour. No shame, just sweet joy.
Reasons to Try Amazing Slutty Brownies (Cookie Dough)
There are desserts you make because you “should,” and then there are desserts like these—because you deserve them. First, the sheer ease. You’re using ready-to-bake dough and brownie mix, so it’s practically foolproof. Even if the most baking you’ve done lately is heating up a toaster waffle, you can pull this off. Second, they’re a crowd-pleaser—from picky kids to coworkers who just “want a small piece” (who are we kidding, they’ll come back for more), nobody says no to a slab of cookie-Oreo-brownie goodness. Third, they freeze beautifully—but good luck having any leftovers.
Ingredients Needed to Make Amazing Slutty Brownies (Cookie Dough)
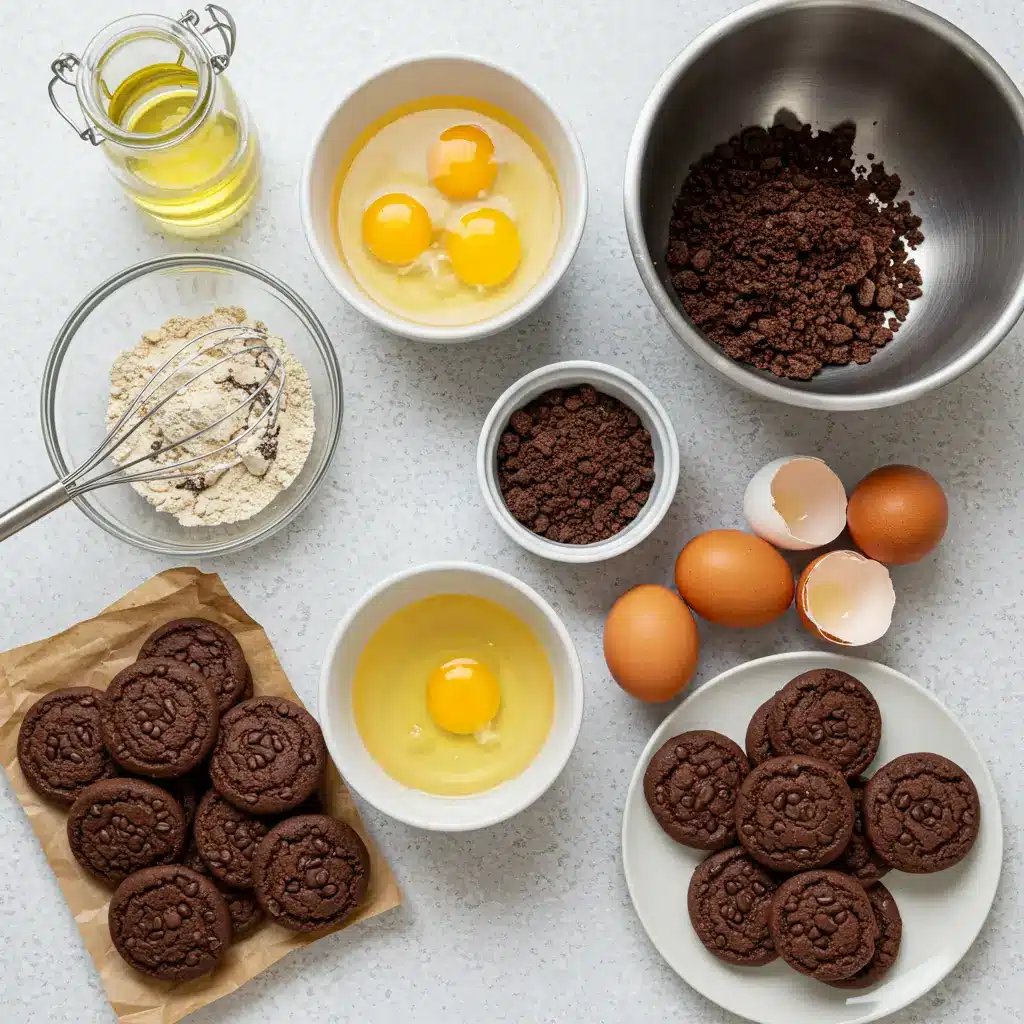
- 1 (17.5 oz) package chocolate chip cookie dough
- 1 (14.3 oz) package Oreo cookies
- 1 (18.3 oz) package brownie mix (plus ingredients listed on the box – usually eggs, oil, and water)
Optional but handy:
- Parchment paper for easy lifting
- Non-stick spray for peace of mind
Instructions to Make Amazing Slutty Brownies (Cookie Dough): Step by Step
Ready to make the most indulgent dessert of your life? Let’s walk through how to make Amazing Slutty Brownies (Cookie Dough) step by step. Whether you’re a seasoned baker or someone who’s just figuring out how to turn on the oven, this detailed guide will walk you through each layer with ease, confidence, and a little fun along the way. Grab your mixing bowl and let’s do this — step by step.
Step 1: Preheat the oven and prep your pan
The first step is simple but crucial. Set your oven to 350°F (175°C). While it’s heating up, prep a 9×13 inch baking dish. You can either lightly grease the pan with nonstick spray or, for a cleaner finish, line it with parchment paper, leaving some overhang on the sides. This will help you lift the brownies out later in one clean slab. If you’ve ever struggled with sticky desserts falling apart, check out these prep tips for baking pans to make your life easier.
Step 2: Press in the cookie dough layer
Now it’s time to get your hands a little dirty (or use a spatula if you prefer). Take the chocolate chip cookie dough—either store-bought or homemade—and press it evenly across the bottom of your pan. This is your base layer, so don’t rush it. Make sure the dough reaches all four corners and is consistent in thickness to help everything bake evenly. If you’re in the mood to get creative, you can try mixing in a few chopped nuts or using peanut butter cookie dough instead. For more on that, visit this guide on easy baking swaps that still keep things simple.
Step 3: Add a layer of Oreo cookies
Next up in our step by step dessert dream: the middle layer. Take your Oreos (don’t twist them apart—leave them whole!) and place them gently on top of the cookie dough. Line them up in rows so the entire surface is covered. It’s okay if they touch or slightly overlap. Want to shake things up? Try flavored Oreos—think peanut butter, mint, or birthday cake—for a custom twist. You can even swap them out with gluten-free sandwich cookies if needed. Want more dessert layering inspiration? Take a peek at my Strawberry Cheesecake Cookies—another dreamy layered dessert!
Step 4: Prepare your brownie batter
In a mixing bowl, prepare the brownie mix as instructed on the box. This usually means adding eggs, oil, and water. Stir it together until smooth—don’t overmix. You’re aiming for glossy, slightly thick batter. If you want a little extra richness, add a handful of chocolate chips or a splash of vanilla extract. Pro tip: Use room-temperature eggs for smoother mixing. If you’re wondering about better boxed brownie brands or how to adjust texture, this baking basics guide might help.
Step 5: Pour brownie batter over the Oreos
Now it’s time to cover those cookies with chocolatey goodness. Pour the brownie batter evenly over the Oreo layer. Use a spatula to spread it into the corners and smooth out the surface. This layer should completely hide the Oreos, creating a surprise middle when sliced. Go slow and steady here—it’s a key part of the step by step process that ensures your layers stay neat and don’t get squished.
Step 6: Bake to fudgy perfection
Place your pan into the preheated oven and bake for 30 to 35 minutes. You’ll know it’s done when the top is set and a toothpick inserted into the center comes out with moist crumbs—not raw batter. This is a dense dessert, so the toothpick test might trick you. You want a little gooeyness—it’ll firm up as it cools. Avoid overbaking if you want that classic rich, fudgy bite.
Step 7: Let cool completely before slicing
This might be the hardest step in the whole step by step guide—waiting. But trust me, it’s worth it. Let the brownies cool fully in the pan for at least an hour. If you used parchment paper, you can then lift the whole thing out and slice into squares. Cutting too early means messy layers and crumbling edges (though still delicious). If you’re serving for a party or prepping ahead, check out my post on how to store and freeze desserts properly for best results.
Bonus Tip: Want clean, bakery-style squares?
Wipe your knife clean between each cut. It may sound extra, but it gives you those picture-perfect, three-layer brownie bars your friends will think came from a fancy bakery.
What to Serve with Amazing Slutty Brownies (Cookie Dough)
These brownies are pretty much the Beyoncé of dessert trays—they don’t need backup vocals. But if you’re looking to really show off, serve them warm with a scoop of vanilla ice cream and a drizzle of hot fudge. Or dust with powdered sugar if you’re feeling fancy. They also play well with creamy sides like Easy No-Bake Pumpkin Cheesecake Balls or even a fruity dessert like these Apple Crisp Mini Cheesecakes. Want to keep things casual? Just serve with coffee or milk and call it a cozy night in.
Key Tips for Making Amazing Slutty Brownies (Cookie Dough)
- Line your pan with parchment and leave overhangs—this makes it easy to lift and slice without turning your pan into a crime scene.
- Let them cool completely before cutting. I know it’s torture, but if you don’t wait, the layers will collapse into gooey (delicious) chaos.
- Don’t overbake. These brownies are meant to be fudgy. If you see a few moist crumbs on your tester, you’re golden.
- Customize the layers. Swap regular Oreos for peanut butter, mint, or birthday cake flavors. Cookie dough and brownie batter are like the jeans of dessert—they go with everything.
Storage and Reheating Tips for Amazing Slutty Brownies (Cookie Dough)
Got leftovers? First of all, congrats on your self-control. These brownies store well in an airtight container at room temp for up to 3 days. Want to stretch the sweetness? Pop them in the fridge for up to a week or freeze them (individually wrapped) for up to 2 months. To reheat, just microwave a square for 10-15 seconds. You’ll be back in warm, gooey heaven in no time.
FAQs
Can I make these from scratch instead of using mixes?
Totally! You can use your favorite homemade cookie dough and brownie recipes. Just make sure they’re not too runny or dense, or the layers won’t bake evenly.
Do I need to use parchment paper?
Highly recommended, but not mandatory. It just makes removal and slicing easier (and cleaner).
Can I use gluten-free mixes?
Yes! Just check your ingredients and follow the same steps. It works well with most brands.
What size pan should I use?
A 9×13-inch baking pan is ideal. Anything smaller and the layers may get too thick and underbake in the middle.
Final Thoughts
Amazing Slutty Brownies (Cookie Dough): 3 Decadent Layers are the kind of dessert that makes people stop mid-bite and ask, “What is this magic?” They’re easy, crowd-pleasing, and packed with chocolatey nostalgia. If you’ve never made them before, now’s the perfect time to treat yourself—and maybe share, if you’re feeling generous.
Visit our Pinterest for regular slow cooker recipe updates, or join our Facebook discussions where cooking fans exchange their favorite hearty meal ideas.
PrintAmazing Slutty Brownies (Cookie Dough): 3 Decadent Layers

Slutty Brownies combine three decadent layers: a chocolate chip cookie base, a rich Oreo filling, and a fudgy brownie topping. This dessert is perfect for satisfying any sweet craving.
- Prep Time: 15 minutes
- Cook Time: 35 minutes
- Total Time: 50 minutes
- Yield: 12–16 servings 1x
- Category: Dessert
- Method: Baking
- Cuisine: American
- Diet: Vegetarian
Ingredients
- 1 (17.5 ounce) package chocolate chip cookie dough
- 1 (14.3 ounce) package Oreo cookies
- 1 (18.3 ounce) package brownie mix, plus ingredients called for on package
Instructions
1. Preheat your oven to 350°F (175°C). Lightly grease a 9×13 inch baking pan.
2. Press the chocolate chip cookie dough evenly into the bottom of the prepared pan.
3. Arrange a single layer of Oreo cookies directly on top of the cookie dough.
4. Prepare the brownie mix according to package directions.
5. Pour the brownie batter evenly over the Oreo cookies.
6. Bake for 30-35 minutes, or until a toothpick inserted into the center of the brownies comes out with moist crumbs attached.
7. Let the brownies cool completely in the pan before cutting and serving.
Notes
For easier cutting, line your baking pan with parchment paper, leaving an overhang on the sides. Once cooled, you can lift the entire slab of brownies out of the pan.
You can customize this recipe by using different flavors of cookie dough or Oreos.
Nutrition
- Serving Size: 1 piece
- Calories: 450-550
- Sugar: 50-65g
- Sodium: 250-350mg
- Fat: 20-30g
- Saturated Fat: 8-12g
- Carbohydrates: 60-80g
- Fiber: 2-4g
- Protein: 4-6g
- Cholesterol: 20-40mg


