
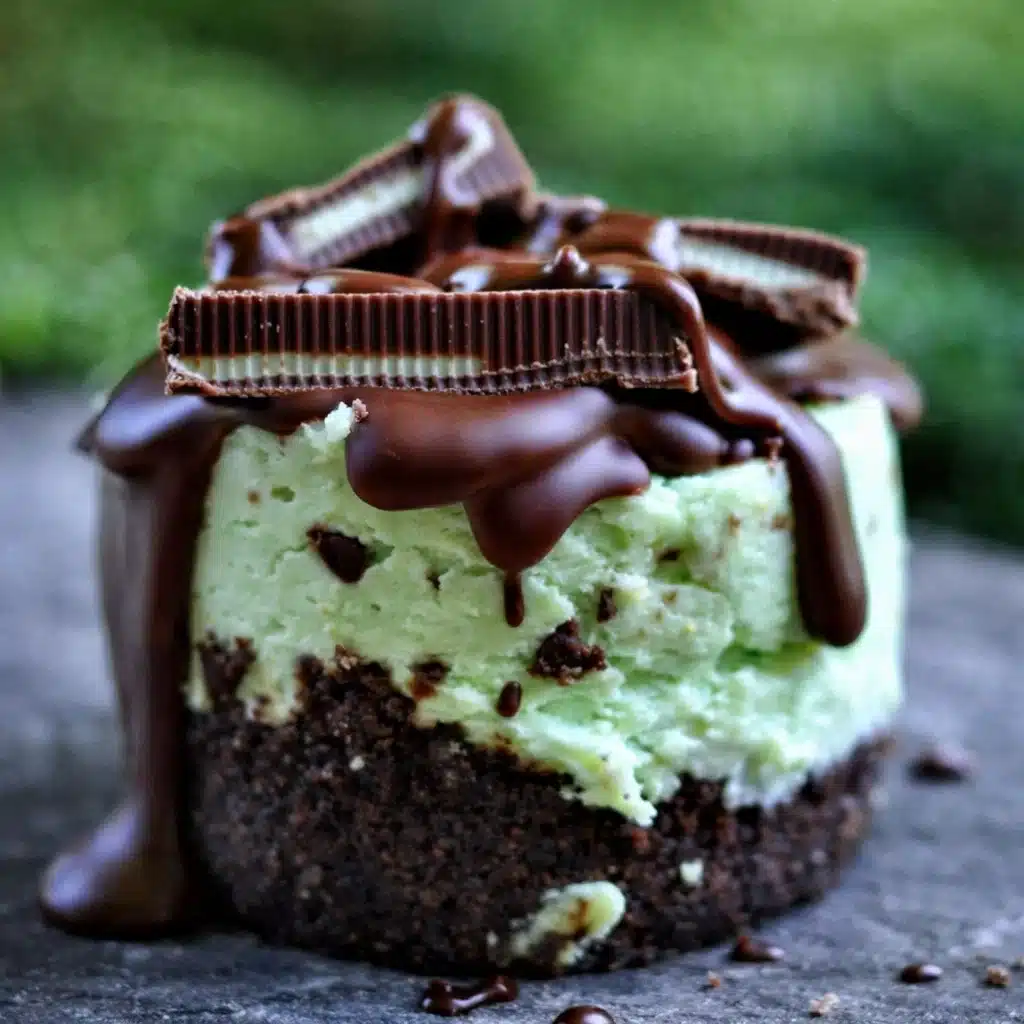
Andes Mint Mini Cheesecakes are the dessert you didn’t know you were missing—but once you try them, it’s game over. With a minty-fresh twist on the classic cheesecake, these adorable little treats hit all the right notes: creamy, chocolatey, just the right amount of fancy-looking, and (best of all) totally freezer-friendly. Whether you’re throwing a party, baking for the holidays, or just want to stash something sweet in your fridge for “emergencies,” these cheesecakes deliver big flavor in a cute little package. The combo of chocolate graham cracker crust, minty green cheesecake filling, and a luscious melted chocolate topping (plus those chopped Andes mints!) is just the right balance of richness and freshness.
Table of Contents
What is Andes Mint Mini Cheesecakes?
Andes Mint Mini Cheesecakes are like a grown-up version of your favorite after-dinner mint… only creamier, richer, and a whole lot more satisfying. They start with a chocolate graham cracker crust (think: crunchy, buttery, and chocolatey base), topped with a smooth and velvety cheesecake filling that’s flavored with mint extract and tinted the prettiest shade of green. Baked just long enough to set without drying out, these minis are cooled, chilled, and then finished with a layer of melted chocolate and chopped Andes mints on top. Basically, they’re a mint-chocolate dream in cheesecake form.
Reasons to Try Andes Mint Mini Cheesecakes
Let’s be real—mint and chocolate is already a classic combo, but turn that into a cheesecake and now you’re talking magic. One of the biggest reasons to try Andes Mint Mini Cheesecakes is how easy they are to make ahead. These little guys freeze beautifully, so you can stash a batch for unexpected guests or late-night cravings. They’re also bite-sized, which means portion control… or at least, that’s what we’ll tell ourselves as we reach for a second. They’re perfect for potlucks, holiday cookie swaps, baby showers, or even just jazzing up your weekly dessert rotation. Plus, you get all the flavor of a big cheesecake without needing a springform pan or a water bath—hallelujah.
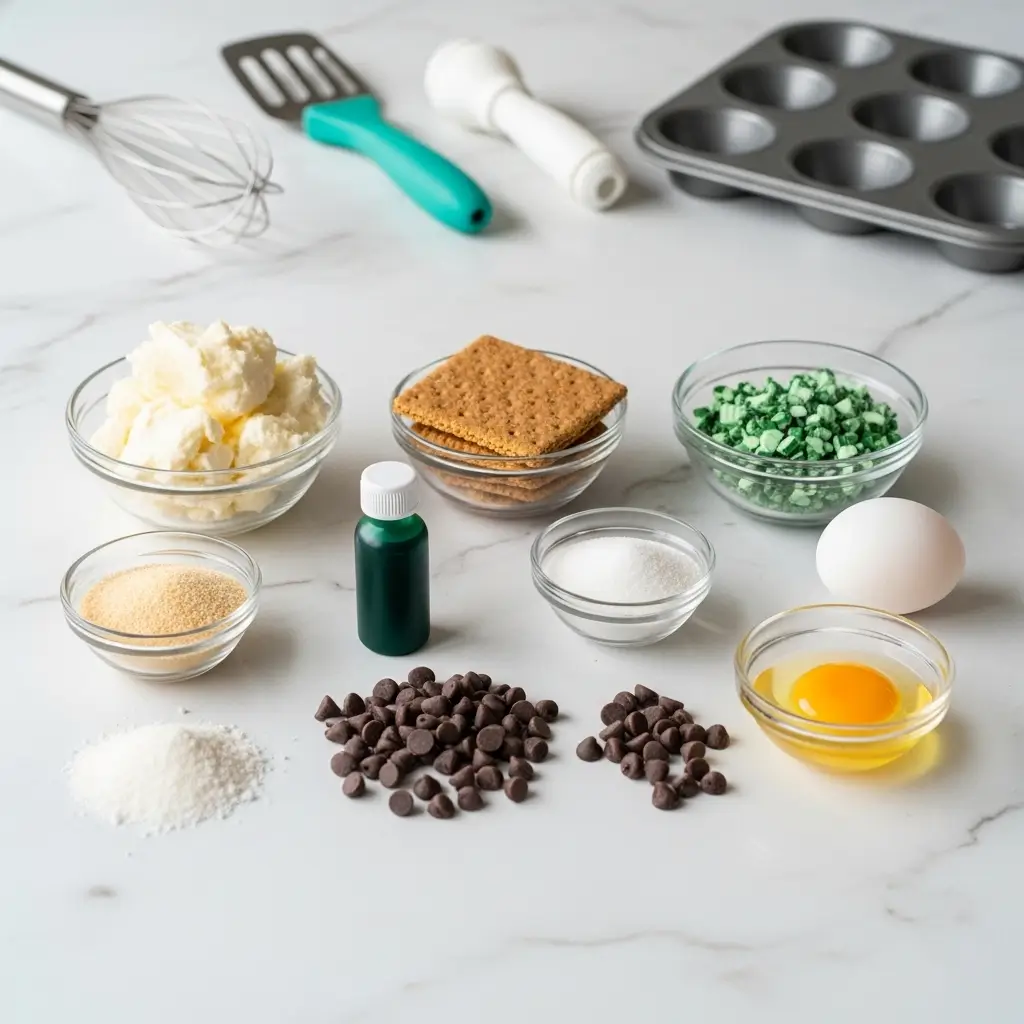
Ingredients Needed to Make Andes Mint Mini Cheesecakes
- Nonstick baking spray
- 1¼ cups chocolate graham cracker crumbs
- 2 tablespoons sugar
- 4 tablespoons butter, melted
- 2 (8 oz) blocks cream cheese, softened (full fat is best!)
- ¼ cup + 2 tablespoons sugar
- 1 egg (room temperature)
- 1 teaspoon mint extract
- 4 drops green food coloring (optional, but festive!)
- 1¼ cups chocolate chips
- 15 Andes mints, coarsely chopped
Instructions to Make Andes Mint Mini Cheesecakes (Step by Step)
Ready to whip up a batch of creamy, minty perfection? Here’s your step-by-step guide to making Andes Mint Mini Cheesecakes that look adorable, taste divine, and come together with way less effort than you’d think. If this is your first time baking mini cheesecakes or you just need a refresher, don’t worry—we’re walking through it together, one easy step at a time.
Step 1: Prep Your Tools and Preheat the Oven
Before anything else, preheat your oven to 325°F. This moderate temperature gives the mini cheesecakes time to bake evenly without drying out. While that’s heating up, grab your mini cheesecake pan or a standard muffin tin (lined with paper cups if that’s what you have on hand). Spray each well with nonstick baking spray to prevent sticking. You’ll thank yourself later when they pop out beautifully without a fight.
Need a little help deciding which tools are worth having in your kitchen? Check out our essential baking tools guide where we break down what’s helpful and what you can skip.
Step 2: Make the Chocolate Graham Cracker Crust
In a mixing bowl, stir together 1¼ cups chocolate graham cracker crumbs, 2 tablespoons of sugar, and 4 tablespoons of melted butter. It should look like wet sand that clumps when you press it. If you’re using whole graham crackers, blitz about 8–9 of them in a food processor until finely ground. You can also check out our Mint Oreo Truffles if you’re feeling adventurous and want to switch up crust ideas for future recipes!
Spoon the mixture evenly into your prepared cheesecake pan, pressing it gently but firmly into the bottom of each cup with the back of a spoon or your fingers. This is your flavor-packed foundation—think of it like the little black dress of each cheesecake.
Step 3: Mix the Creamy Mint Cheesecake Filling
Now for the luscious mint filling! In a stand mixer (or using a hand mixer), beat together 2 blocks of softened cream cheese and ¼ cup + 2 tablespoons of sugar until the mixture is smooth and fluffy. This part is crucial—any lumps now will stick around later, so take your time.
Once smooth, add in 1 room temperature egg, 1 teaspoon mint extract, and 4 drops of green food coloring. (The coloring is optional, but it gives your cheesecakes that festive minty look!) Mix on low speed just until everything is combined. Don’t overmix here—too much air in the batter can cause your cheesecakes to puff and crack.
Pro tip: If you’ve ever had trouble with cracked cheesecakes, check out our Shamrock Shake Pudding Cups for more no-fuss minty dessert ideas that are crack-proof by design!
Step 4: Fill the Cheesecake Cups
Using a spoon or small cookie scoop, divide the cheesecake batter evenly over each graham cracker crust. Fill them just below the rim so they have room to rise slightly. Gently tap the pan on the counter a few times to level out the tops and release any air bubbles.
This step helps give you that perfect bakery-style look once they’re baked and chilled. Plus, tapping helps avoid weird uneven spots—yes, those are a thing.
Step 5: Bake Gently and Cool with Care
Slide the pan into your preheated oven and bake for 20 minutes. The centers should still have a little wobble—don’t worry, that’s what you want. After baking, turn off the oven and crack the door open. Use a wooden spoon to keep it slightly ajar, and let the cheesecakes cool in the oven for 5 to 10 minutes.
Why this extra step? It helps them cool slowly and prevents those dreaded cracks from sudden temperature changes. Cheesecake can be dramatic like that.
Once they’ve rested a bit, take them out of the oven and place the pan on a wire rack. Let them cool completely before transferring them to the fridge.
Step 6: Chill for Best Texture
Now here’s where patience pays off. Chill the mini cheesecakes for at least 3–4 hours, but overnight is best if you can swing it. The chilling helps them firm up, and that minty flavor gets even better as it settles in. Plus, a cold cheesecake is easier to top with warm melted chocolate.
If you’re a big fan of make-ahead desserts, these are freezer-friendly too! Store them just like we recommend in our Strawberry Kiss Cookies recipe—individually wrapped and sealed tight.
Step 7: Top with Melted Chocolate and Andes Mints
When you’re ready to serve (or impress), melt 1¼ cups of chocolate chips in the microwave. Use a microwave-safe bowl and heat in 30-second bursts, stirring between each until smooth and glossy.
Spoon about a tablespoon of melted chocolate over each chilled mini cheesecake. Then quickly sprinkle the tops with coarsely chopped Andes mints while the chocolate is still melty. That way, they stick and look like the delicious little gems they are.
What to Serve with Andes Mint Mini Cheesecakes
These little minty marvels are stars on their own, but you can totally dress them up or down depending on the occasion. Serving after dinner? A piping hot espresso or mocha pairs beautifully with the cool mint. Hosting a dessert buffet? Add a tray of Shamrock Swirl Pie or Mint Oreo Truffles to stick with the theme. If you’re aiming for contrast, pair with something fruity like Strawberry Cheesecake Truffle Balls for a fun mix of flavors. And for something cozy and casual, how about serving them alongside a mug of cocoa topped with whipped cream and crushed mints? You really can’t go wrong—these cheesecakes play well with just about anything.
Key Tips for Making Andes Mint Mini Cheesecakes
Room temperature ingredients make all the difference—softened cream cheese and a warm egg mix more smoothly, meaning fewer lumps in your batter. Don’t skip that slow oven cool-down step after baking; it helps prevent cracking (and no one wants a sad cheesecake). Use full-fat cream cheese for the creamiest texture—now’s not the time for low-fat swaps. Avoid overmixing after the egg goes in; too much air makes the cheesecakes puff and collapse. And if you want to crush your own graham crackers, aim for about 8–9 whole crackers to get that 1¼ cup of crumbs. Finally, let them chill fully before topping—this helps the chocolate layer set cleanly instead of sliding off.
Storage and Reheating Tips for Andes Mint Mini Cheesecakes
These cheesecakes store beautifully! Keep them in an airtight container in the fridge for up to 5 days. If you’re freezing them, wrap each one in plastic wrap and then pop them in a sturdy container or freezer bag. They’ll keep for up to 2 months. When you’re ready to enjoy, let them thaw in the fridge overnight—don’t leave them out on the counter to defrost or they’ll lose their texture. And honestly, no need to reheat—these are meant to be enjoyed chilled or at room temp. If the chocolate topping looks a little dull after freezing, a quick 5-second zap in the microwave will revive its glossy shine.
FAQs
Can I use regular graham crackers instead of chocolate ones?
Absolutely! The chocolate crust just gives it that extra richness, but regular graham crackers work fine.
What if I don’t have a mini cheesecake pan?
A muffin tin with liners will do the trick. Just make sure to grease or line it well so they pop out easily.
Can I skip the food coloring?
Sure thing! The green tint is just for fun—it doesn’t affect the flavor.
How do I make this gluten-free?
Use gluten-free graham crackers, and check that your chocolate and mints are labeled GF.
Can I make these ahead of time for a party?
Yes! They’re ideal make-ahead treats—just chill or freeze and decorate right before serving.
Final Thoughts
If you’re craving a dessert that’s just as pretty as it is delicious, Andes Mint Mini Cheesecakes are your new go-to. With their creamy mint filling, chocolate base, and cool little mint candy topping, they’re crowd-pleasers through and through. They’re perfect for parties, holidays, or quiet nights when you just need a treat that makes you smile. And if you’re already hooked on mint-chocolate goodies, don’t miss these Shamrock Shake Pudding Cups or Irish Cream Oreos for more festive fun. These little cheesecakes are proof that big flavor can come in small packages. So go on—bake a batch (or two) and treat yourself. You’ve earned it.
Visit our Pinterest for regular slow cooker recipe updates, or join our Facebook discussions where cooking fans exchange their favorite hearty meal ideas.
PrintAndes Mint Mini Cheesecakes – Quick, Creamy, and Crowd-Pleasing

These delectable Andes Mint Mini Cheesecakes are party-worthy, freezer-friendly, and absolutely adorable. Enjoy these chocolate graham cracker crust mint-filled cheesecakes topped with melted chocolate and chopped Andes Mint candies.
- Prep Time: 20 minutes
- Cook Time: 20 minutes
- Total Time: 40 minutes
- Yield: 14 mini cheesecakes 1x
- Category: Dessert
- Method: Baking
- Cuisine: American
Ingredients
- Nonstick baking spray
- 1¼ cups chocolate graham cracker crumbs
- 2 tablespoons sugar
- 4 tablespoons butter, melted
- 2 (8 ounce) boxes cream cheese, softened
- ¼ cup plus 2 tablespoons sugar
- 1 egg
- 1 teaspoon mint extract
- 4 drops green food coloring
- 1¼ cups chocolate chips
- 15 Andes mints, coarsely chopped
Instructions
1. Preheat oven to 325°F and spray the mini cheesecake pan with nonstick baking spray.
2. Combine graham crackers, 2 tablespoons sugar, and butter. Divide evenly in the mini cheesecake pan and press down gently with a spoon.
3. In a stand mixer, blend cream cheese and remaining sugar until smooth and creamy.
4. Add the egg, mint extract, and green food coloring. Mix just until incorporated on low speed.
5. Spoon the cream cheese mixture over the crusts, dividing evenly among the mini pans.
6. Bake for 20 minutes. Turn off the oven, prop the door open with a wooden spoon, and let them cool for 5–10 minutes.
7. Remove from oven and refrigerate for several hours or overnight before removing from the pan.
8. Melt chocolate chips in the microwave according to package directions.
9. Top each mini cheesecake with a heaping tablespoon of melted chocolate and a few pieces of chopped Andes mints.
Notes
Plan ahead and soften your cream cheese to room temperature for easier mixing.
Warm your egg to room temperature for better incorporation.
Use full-fat cream cheese for the best texture and flavor.
Avoid over-mixing after adding the egg to prevent too much air in the batter.
Do not open the oven door during baking to avoid cracking.
After baking, cool gradually in the oven before chilling in the fridge.
Use a food processor to crush about 8–9 chocolate graham crackers if you don’t have pre-crushed.
Store cheesecakes in the refrigerator.
They freeze well when double-wrapped in freezer bags and kept in a sturdy container for up to 2 months. Defrost in the refrigerator, not on the counter.
Nutrition
- Serving Size: 1 mini cheesecake
- Calories: 176
- Sugar: 17g
- Sodium: 58mg
- Fat: 10g
- Saturated Fat: 6g
- Unsaturated Fat: 2.3g
- Trans Fat: 0.1g
- Carbohydrates: 22g
- Fiber: 0.03g
- Protein: 1g
- Cholesterol: 20mg


