
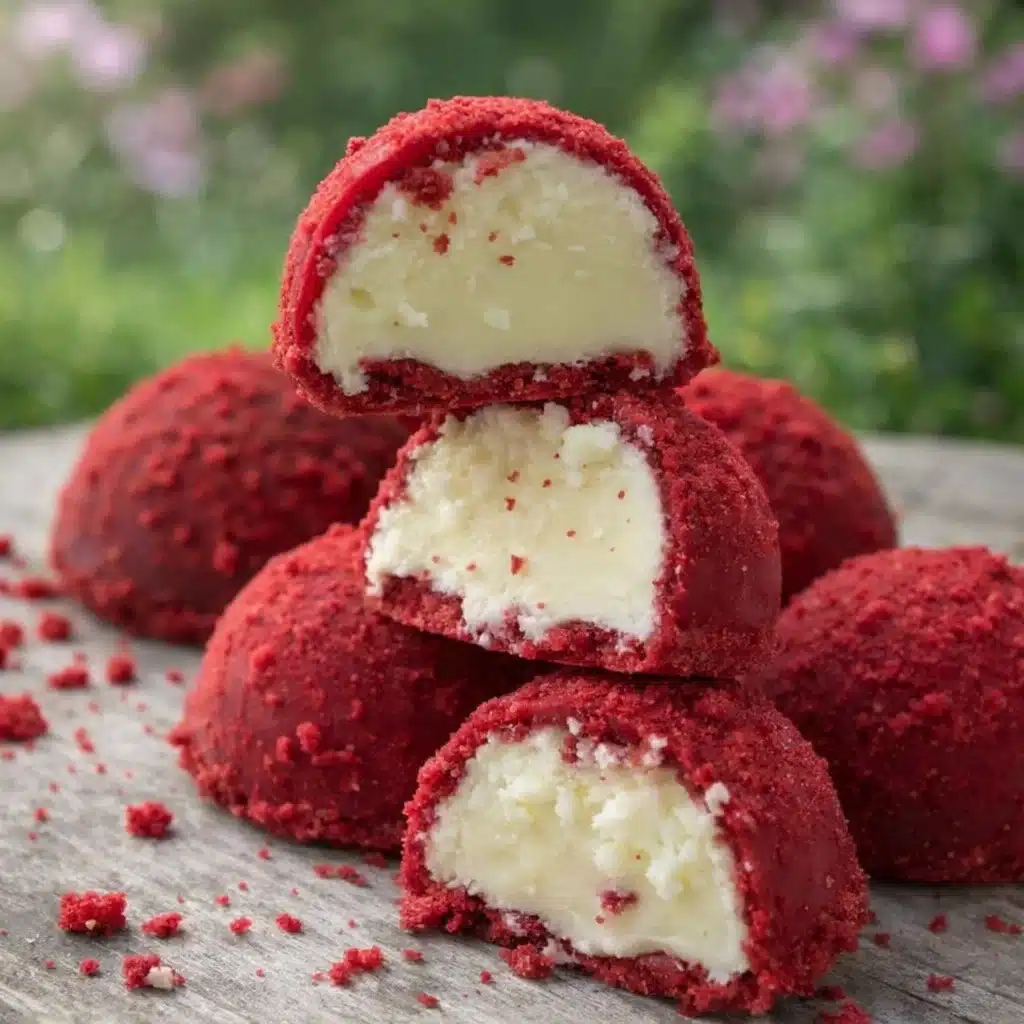
Red Velvet Snowballs are more than just a cookie—they’re the edible equivalent of holiday magic wrapped in powdered sugar. The rich red hue, that soft cocoa-kissed center, and the snowy sugar coating make them the showstopper of any Christmas cookie tray. Whether you’re knee-deep in holiday baking or just trying to bribe your kids off the naughty list, these little red gems are your go-to treat. You only need about 30 minutes, a handful of pantry staples, and a willingness to get a little powdered sugar on your sweater (a worthy sacrifice). From cookie swaps to neighbor gifts to that “just one more” with your evening coffee, Red Velvet Snowballs are about to become your new favorite tradition.
Table of Contents
What is Red Velvet Snowballs?
Red Velvet Snowballs are bite-sized cookies that take the charm of classic red velvet cake and wrap it in the cozy comfort of a holiday cookie. Think of them as the lovechild of soft chocolate cookies and snowy wedding cookies—only with that festive red twist and less fuss. These beauties have all the signature red velvet traits: a touch of cocoa, a splash of vanilla, and that deep red color that screams “I’m extra—and proud of it.” They’re rolled twice in powdered sugar for that dreamy, snow-dusted finish.
Reasons to Try Red Velvet Snowballs
Let’s be honest—holiday baking can be a lot. Sticky counters, flour-dusted floors, and complicated recipes that seem to require a culinary degree. But Red Velvet Snowballs? These cookies are low on stress and high on charm. First off, they’re incredibly simple. No chilling. No fancy equipment. Just mix, roll, bake, and sugar-shower your way to cookie bliss. They’re also the kind of treat that looks like you spent way more time on them than you actually did (holiday magic, right?). And let’s not forget that stunning red color—it pops on cookie trays and makes gift boxes feel extra festive. These are the cookies people remember, ask about, and hope you’ll bring again next year.
Ingredients Needed to Make Red Velvet Snowballs
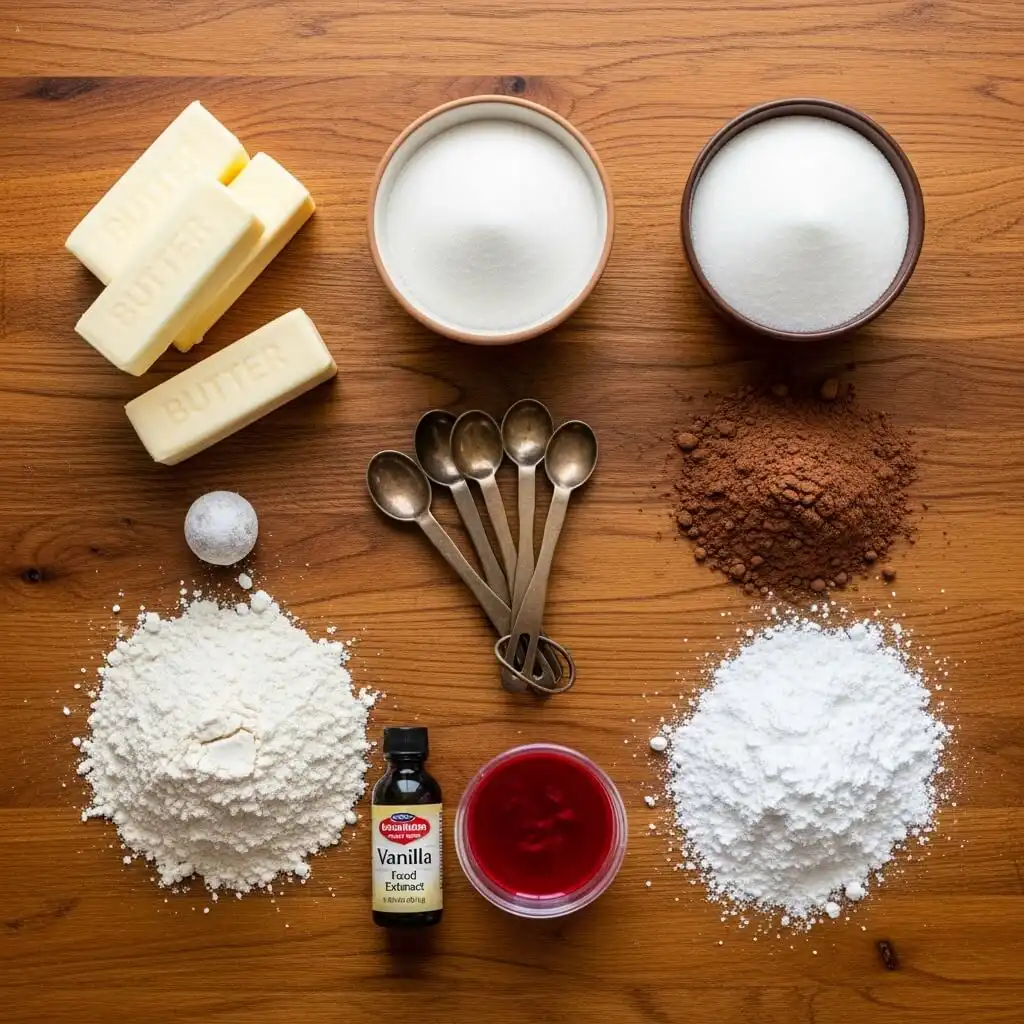
- 1 cup butter, softened
- ½ cup sugar
- 2 cups all-purpose flour
- 2 tablespoons unsweetened cocoa powder
- 1 teaspoon vanilla extract
- 1 teaspoon baking powder
- Pinch of salt
- Red food coloring (gel works best for bold color)
- 1 cup powdered sugar (for rolling)
Instructions to Make Red Velvet Snowballs – Step by Step
Baking Red Velvet Snowballs might just become your new holiday tradition, especially once you see how simple (and satisfying) this step-by-step process really is. Whether you’re a baking newbie or someone who keeps cookie tins stocked like a North Pole elf, these directions will walk you through each stage with clarity, a little cheer, and plenty of tips to keep things stress-free. Ready to bake? Let’s roll—literally.
Step 1: Cream the Butter and Sugar
Start by grabbing a large mixing bowl and adding in your softened butter and granulated sugar. Using a hand mixer or stand mixer, beat the two together on medium speed for about 2–3 minutes, until the mixture is light, fluffy, and pale in color. This step is important—it creates the base of the cookie and gives that soft, tender texture. If your butter is too cold, let it sit out for a bit longer or warm it gently. For more help on prepping ingredients ahead of time, check out these make-ahead baking tips.
Step 2: Add Vanilla and Red Food Coloring
Next, add your vanilla extract and red gel food coloring straight into the butter mixture. Stir gently at first, then mix until the color is evenly blended throughout the dough. The goal is that iconic deep red velvet hue—bold and festive, not neon or pinkish. Gel food coloring works best here because it gives a vibrant color without watering down the dough. If you’re new to baking with gel colors, this article on easy red velvet treats might give you some inspiration (and a few more delicious ideas).
Step 3: Mix the Dry Ingredients Separately
In a second medium bowl, whisk together your dry ingredients: all-purpose flour, cocoa powder, baking powder, and a pinch of salt. Stir until fully combined. This is your cookie’s structure—so no clumps allowed. Sift if needed, especially the cocoa powder, which tends to get a little lumpy if it’s been sitting in the pantry since last Christmas.
Step 4: Combine Wet and Dry Ingredients
Now, slowly add your dry ingredients to the red butter mixture, about a third at a time. Use a wooden spoon or spatula at first to avoid flour explosions, then mix until a soft dough forms. It should come together easily and not stick to your hands. If it feels dry or crumbly, don’t panic—just mix a little longer until it smooths out. Avoid overmixing though, or your snowballs might turn into little red rocks.
Step 5: Roll Dough into Balls
Scoop about 1 tablespoon of dough and roll it gently between your palms to form smooth, 1-inch balls. Place each one on a parchment-lined baking sheet, spacing them about an inch apart. Don’t worry, they won’t spread much. If you’re prepping a big batch ahead of time, you can freeze the dough balls at this stage—learn how in our holiday cookie freezing guide.
Step 6: Bake Until Just Set
Slide your tray into a preheated oven at 350°F (175°C). Bake for 10–12 minutes—no more! These cookies don’t brown like typical cookies, so keep a close eye around the 10-minute mark. You’re looking for a firm edge and a soft center that will finish setting as they cool. Overbaking leads to dryness, so when in doubt, take them out.
Step 7: Roll in Powdered Sugar (Twice for Extra Snow!)
Here comes the fun part: the snow. While the cookies are still warm—but not too hot to touch—roll them generously in powdered sugar. Then, set them aside to cool completely. Once cooled, give them a second roll in powdered sugar for that thick, snowy finish that makes them truly look like festive snowballs. This two-coat method makes a big difference in both taste and visual charm.
That’s it! With this step-by-step guide, you’ve got yourself a batch of soft, chewy, beautifully red snowball cookies ready to steal the show at any cookie swap or holiday party. Want to pair them with something just as easy and festive? Our No-Bake Chocolate Berry Tart is a rich, fruity contrast to these snowy bites—and no oven required.
What to Serve with Red Velvet Snowballs
These cookies are perfect all on their own, but they also love company. Try pairing them with a hot cup of cocoa (bonus points if it’s peppermint), a spiced chai latte, or even a glass of milk for that old-school vibe. Want to go all out? Add them to a holiday cookie platter with some Creamy Strawberry Truffles or Valentine’s Day Cake Mix Cookies for a colorful dessert spread. If you’re serving after dinner, they make a sweet, bite-sized closer to any holiday meal—especially alongside coffee or dessert wine. And if you’re gifting them, pack in a little note that says “Best eaten in twos.”
Key Tips for Making Red Velvet Snowballs
Use gel food coloring—it gives that deep, festive red without watering down your dough. Don’t overbake. These cookies should stay soft and almost fudgy inside. If you wait for them to look “done,” they might go too far. Want to level things up? Add mini chocolate chips or even hide a tiny dollop of cream cheese inside each ball for a surprise. And here’s a fun twist: roll the cookies once while they’re still warm and again once cooled—this two-step process gives that dreamy, snowball look that doesn’t fade. If baking ahead, keep your dough balls covered while the oven preheats to avoid drying out.
Storage and Reheating Tips for Red Velvet Snowballs
Store your snowballs in an airtight container at room temperature for up to 5 days—they hold up well, though you might notice the powdered sugar fade a bit. No worries—just give them a quick sugar dusting before serving. Want to freeze? Absolutely. Just freeze the uncoated cookies in a single layer, then transfer to a zip-top bag. When ready to serve, thaw at room temp and give them their powdered sugar makeover. Reheating isn’t usually needed, but if you want them warm, pop them in a 300°F oven for 2-3 minutes. Just don’t microwave—no one likes rubbery snowballs.
FAQs
Can I make Red Velvet Snowballs ahead of time?
Yes! Make the dough up to 2 days in advance and refrigerate, or freeze the dough balls and bake when needed.
How do I get the perfect red color?
Use gel food coloring—it’s more concentrated and gives that bold red without messing up the texture.
Can I add a filling to these cookies?
Sure! Try adding a tiny scoop of cream cheese mixed with powdered sugar in the center before rolling.
Why do my cookies look pink instead of red?
Too little food coloring or using liquid instead of gel. You want that dramatic holiday red, so don’t be shy with the gel.
Final Thoughts
Red Velvet Snowballs are a joyful, fuss-free holiday treat that checks all the boxes—pretty, quick, and incredibly satisfying. They’re the kind of cookie that makes people go, “Wait, you made these?” while reaching for a second. Whether you’re baking for a crowd, gifting to friends, or just need something sweet with your tea after the kids are finally in bed, these cookies bring that warm holiday cheer we all crave. If you love red velvet, this is your season to shine. And if you’re looking for more cozy bakes, don’t miss our Strawberry Cheesecake Truffle Balls for another easy, no-fail dessert idea.
Visit our Pinterest for regular slow cooker recipe updates, or join our Facebook discussions where cooking fans exchange their favorite hearty meal ideas.
PrintRed Velvet Snowballs – A Festive Holiday Cookie You’ll Love

Soft, chewy, and vibrantly red, these festive Red Velvet Snowballs are rolled in powdered sugar for a snowy finish – the perfect holiday cookie for gifting, parties, or cozy winter nights.
- Prep Time: 15 minutes
- Cook Time: 12 minutes
- Total Time: 27 minutes
- Yield: 24 cookies 1x
- Category: Dessert
- Method: Baking
- Cuisine: American
- Diet: Vegetarian
Ingredients
- 1 cup butter, softened
- ½ cup sugar
- 2 cups all-purpose flour
- 2 tbsp unsweetened cocoa powder
- 1 tsp vanilla extract
- 1 tsp baking powder
- Pinch of salt
- Red food coloring (gel works best)
- 1 cup powdered sugar (for rolling)
Instructions
1. In a large bowl, cream together the softened butter and sugar until light and fluffy. Add vanilla extract and red food coloring, mixing until you achieve a deep red color.
2. In a separate bowl, whisk together flour, cocoa powder, baking powder, and salt. Slowly add the dry ingredients to the wet mixture until a dough forms.
3. Roll the dough into small 1-inch balls and place them on a parchment-lined baking sheet, leaving a little space between each cookie.
4. Bake at 350°F (175°C) for about 10–12 minutes, or until the cookies are set but still soft.
5. Let the cookies cool slightly, then roll them generously in powdered sugar. For the best snowy look, roll them twice—once while warm and again after they cool.
Notes
Use gel food coloring for a deeper red hue and vibrant holiday look.
Don’t overbake—cookies should remain soft and chewy in the center.
For added richness, mix in mini chocolate chips or stuff with cream cheese filling.
Store in an airtight container for up to 5 days or freeze uncoated cookies for up to 2 months.
To serve after freezing, thaw and roll in powdered sugar before plating.
Nutrition
- Serving Size: 1 cookie
- Calories: 120
- Sugar: 8g
- Sodium: 60mg
- Fat: 7g
- Saturated Fat: 4g
- Unsaturated Fat: 2g
- Trans Fat: 0g
- Carbohydrates: 13g
- Fiber: 0.5g
- Protein: 1g
- Cholesterol: 20mg


